
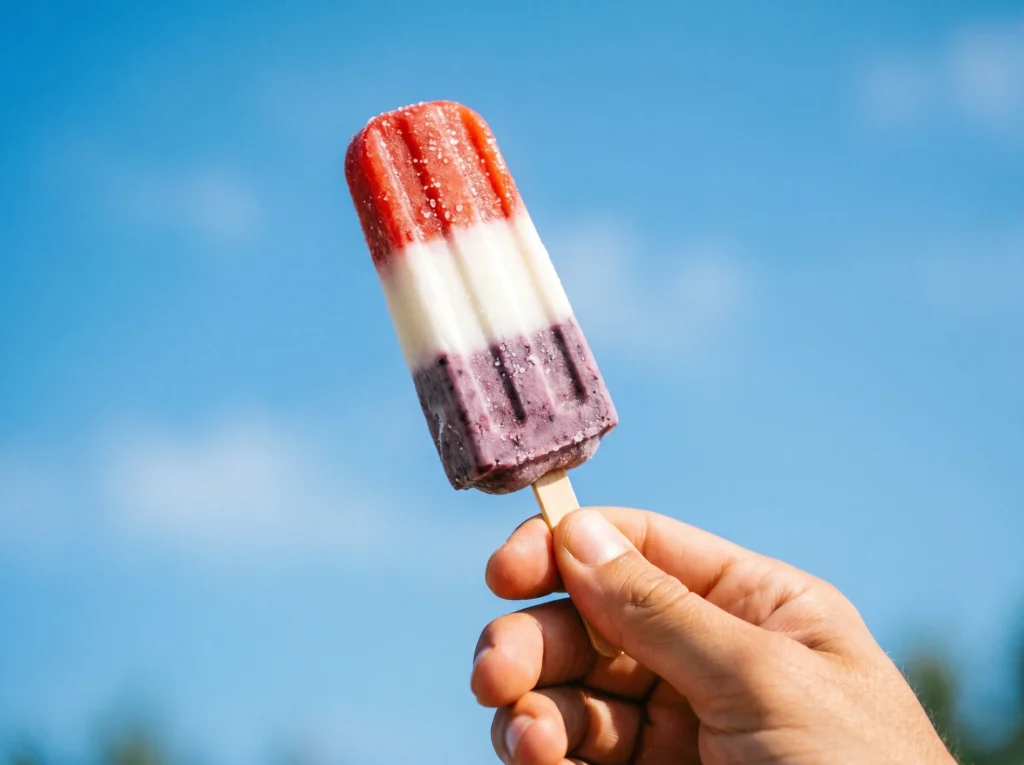
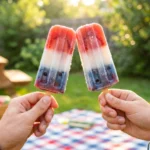
There is nothing that screams summer quite like a box of Firecracker Popsicles from the ice cream truck. The bright red, white, and blue layers are iconic.
When I was little, my brother and I would wait on the porch for that familiar jingle. We didn’t care about the heat as long as we had a cold rocket pop in hand.
Now that I have my own kitchen, I love recreating those nostalgic moments. But I like to do it with ingredients I actually feel good about serving.
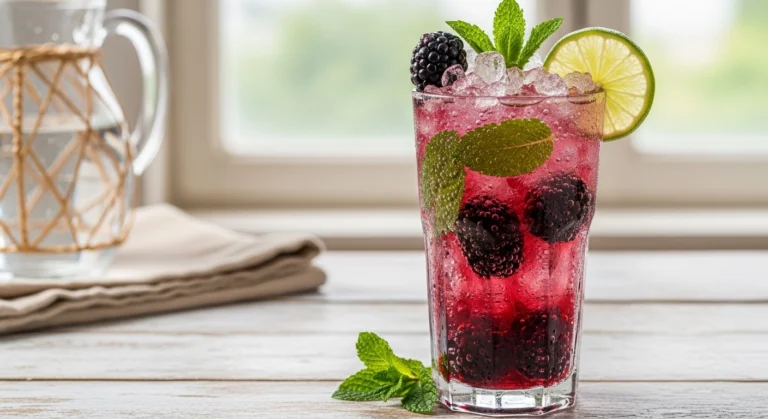
These homemade treats are a fantastic way to celebrate the holiday season. If you are looking for more festive blue drinks to pair with these, check out my Sonic Ocean Water Recipe.
Today, I’m showing you how to make these Firecracker Popsicles right at home. They are fresh, creamy, and much better than the store-bought version!
Table of Contents
Why You’ll Love This Recipe
Making your own Red white and blue Firecracker popsicles is surprisingly satisfying. Here is why this recipe is a total winner:
- Better Ingredients: No high-fructose corn syrup or mystery dyes here.
- Budget-Friendly: You can make a huge batch for a fraction of the price of the boxed ones.
- Perfect for Holidays: They are the ultimate 4th of July popsicles for backyard BBQs.
- Kid-Approved: This is one of those summer treats for kids that they can actually help make.
- Customizable: You can make them as healthy or as indulgent as you like.
The Ingredients
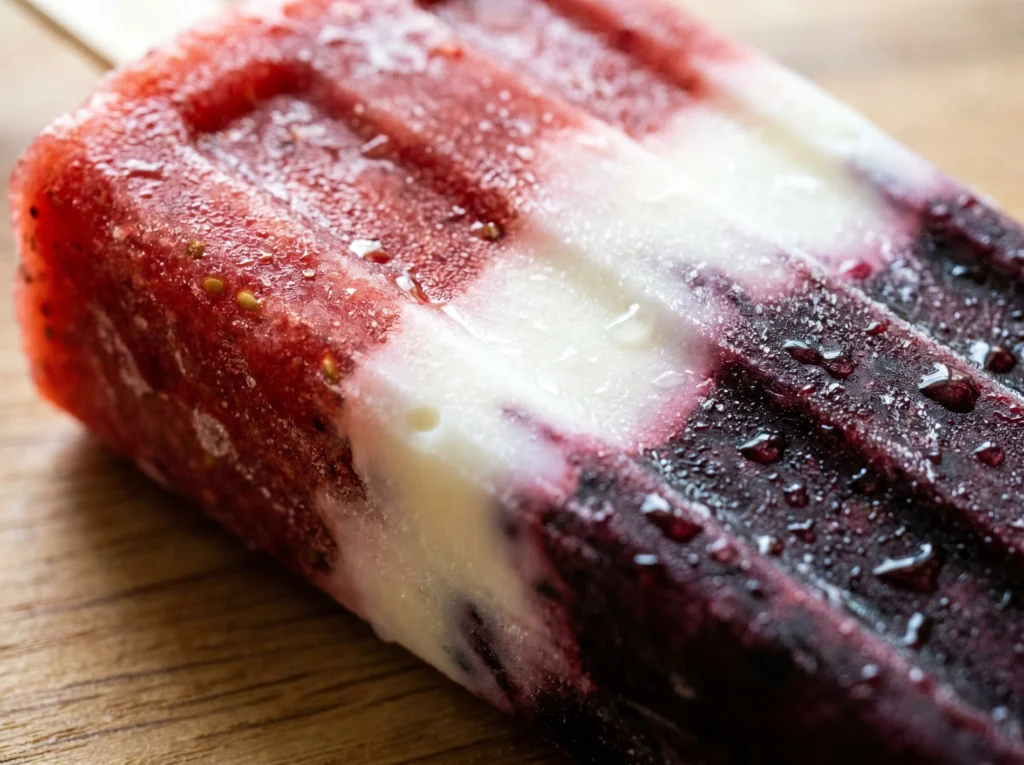
To get those classic layers, we use a mix of fruit and dairy. It creates a beautiful Yogurt and fruit Firecracker popsicles texture.
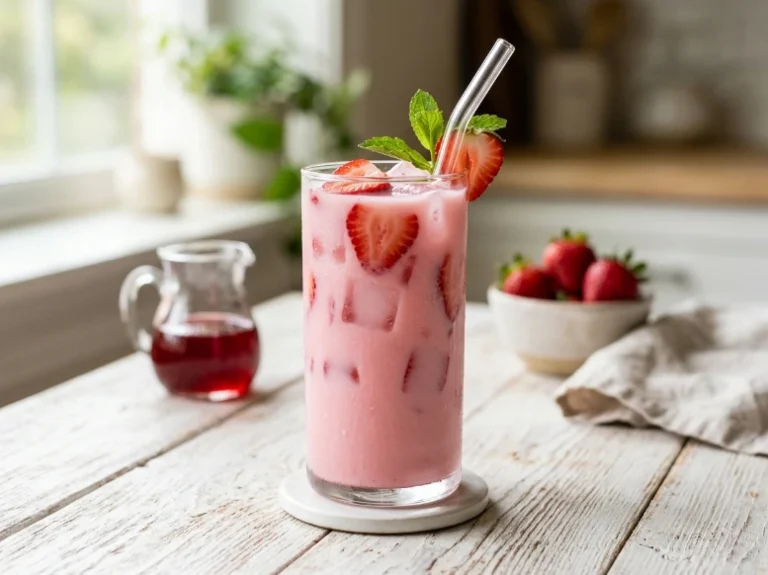
- The Red Layer: I love using fresh strawberries or raspberries. Blend them with a little honey and lemon juice for a bright, tart flavor.
- The White Layer: For a creamy center, Greek yogurt mixed with a splash of milk and vanilla is perfect. It makes these Healthy firecracker pops feel like a real dessert.
- The Blue Layer: Blueberries are the natural choice. If you want that “electric” blue look, a tiny drop of food coloring in white grape juice works too.
- Sweetener: Honey, maple syrup, or simple syrup all work well. Adjust the amount based on how sweet your fruit is.

Step-by-Step Instructions
This Layered Firecracker popsicle recipe is all about the timing. Follow these steps for perfect results.
- Prepare the Red Base: Blend your red fruit with a sweetener until smooth. Pour it into the bottom third of your popsicle molds.
- The First Freeze: Place the molds in the freezer. Let them sit for about 45 minutes until the top is firm to the touch.
- Add the White Layer: Mix your yogurt, milk, and vanilla. Gently spoon this over the frozen red layer.
- Insert the Sticks: If your mold has a lid, put it on now and slide the sticks in. Freeze for another 45 minutes.
- Add the Blue Layer: Blend your blueberries (or blue juice) and pour it to the top of the mold.
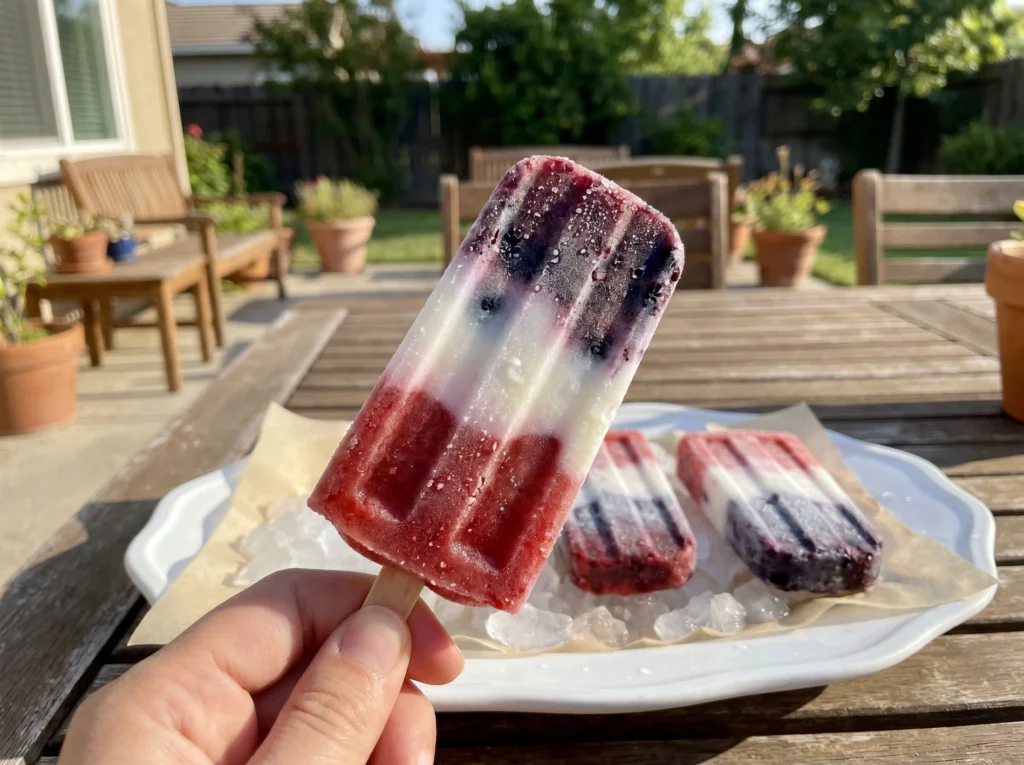
- Final Freeze: Let the popsicles freeze for at least 4 to 6 hours, or ideally overnight.
Pro Tips for Perfect Results
- Tap the Molds: After pouring each layer, gently tap the molds on the counter. This removes air bubbles for a smoother look.
- Leave Room: Don’t fill the blue layer all the way to the brim. Liquid expands as it freezes, and you don’t want a sticky mess!
- Consistent Sticks: Make sure your sticks are centered. It makes them much easier for little hands to hold later.
Common Mistakes to Avoid
- Rushing the Freeze: If you add a new layer too soon, the colors will bleed. You’ll end up with purple popsicles instead of striped ones!
- Using Too Much Sugar: If the mixture is too sweet, it won’t freeze as hard. Follow the ratios for a solid, snackable texture.
- Skipping the Strainer: If you use raspberries, strain the puree. Nobody wants seeds in their Homemade rocket pops.
Serving Ideas
These are the star of any summer party. I love serving them alongside other fruit-forward desserts like my Raspberry Lemon Blondies.
If you are hosting a party, place the molds in a bowl of ice. This keeps them from melting while guests grab their treats. They also look amazing served on a white platter to make the colors pop!
Storage & Make-Ahead Tips
- In the Mold: You can keep them in the freezer molds for up to two weeks.
- Long-Term: For longer storage, unmold them and wrap each one in parchment paper. Place them in a heavy-duty freezer bag for up to 2 months.
- Make-Ahead: These are perfect to make 2 or 3 days before a big party to save you stress on the day of the event.
FAQs
How do you get perfect layers in firecracker popsicles?
The secret to sharp, distinct layers is patience! You must freeze each layer individually for about 30 to 60 minutes before adding the next one. If the bottom layer isn’t firm enough, the new liquid will mix in, creating a blurry or marbled effect rather than the classic “rocket” look.
How do I get the popsicles out of the mold without breaking them?
If your popsicles are stuck, run the outside of the mold under lukewarm water for 10 to 15 seconds. This slightly melts the outer edge, allowing the popsicles to slide out smoothly. Avoid using hot water, as it can melt the layers too quickly and cause them to separate!
Are homemade firecracker popsicles healthier than store-bought?
Absolutely! When you make them at home, you can use real fruit purees, Greek yogurt, or honey instead of the high-fructose corn syrup and artificial dyes found in commercial rocket pops. This gives you a nutrient-dense treat that still feels like a classic summer indulgence.
What can I use for the blue layer in firecracker pops?
For a natural blue layer, blended blueberries work beautifully. If you want a more vibrant, “electric” blue similar to store-bought versions, you can use blue sports drinks, blue raspberry lemonade, or white grape juice tinted with a drop of blue food coloring.
Final Thoughts
Making Firecracker Popsicles at home is a summer tradition I’ll never give up. It’s a simple way to bring a little extra joy to those hot July days.
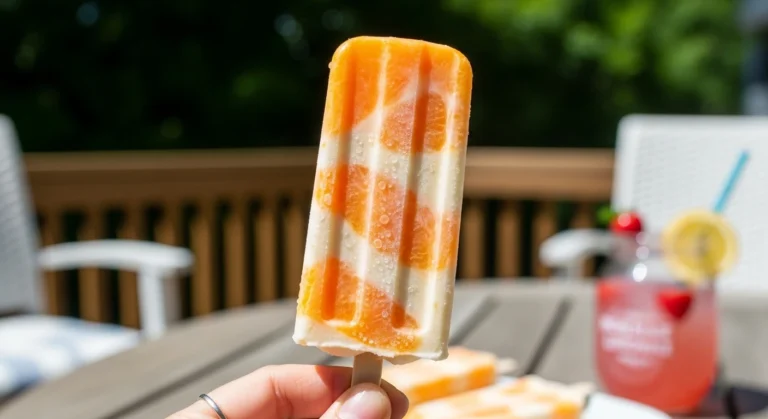
If you are looking for more frozen inspiration, don’t miss my Homemade Orange Creamsicle Popsicle Recipe.
Did you try these? I’d love to hear how they turned out! Leave a comment below and give this recipe a rating. If you make them, snap a photo and tag EndRecipes on Pinterest!
Be sure to sign up for the EndRecipes newsletter for more family-friendly treats delivered right to your inbox.
PrintHomemade Firecracker Popsicles
- Prep Time: 15 minutes
- Cook Time: Freeze Time : 6 hours
- Total Time: 6 hours 15 minutes
- Yield: 6-8 popsicles
Ingredients
-
1 cup strawberries, hulled
-
1 cup Greek yogurt (plain or vanilla)
-
1 cup blueberries
-
3 tbsp honey or maple syrup (divided)
-
2 tbsp milk (for the white layer)
-
1 tsp vanilla extract
Instructions
-
Blend strawberries with 1 tbsp honey until smooth. Fill molds 1/3 full. Freeze 45 mins.
-
Whisk yogurt, milk, vanilla, and 1 tbsp honey. Spoon over red layer. Insert sticks. Freeze 45 mins.
-
Blend blueberries with 1 tbsp honey. Fill the rest of the mold.
-
Freeze until solid (6+ hours). Unmold using lukewarm water.