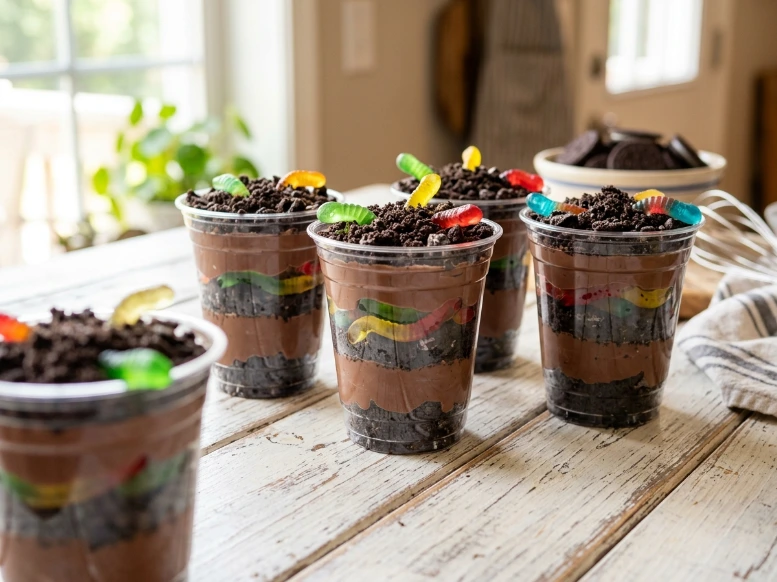
If you are looking for a fun, nostalgic treat that makes everyone smile, these oreo dirt cake cups are the ultimate crowd-pleaser. They combine rich chocolate layers with fluffy cream cheese filling and crushed cookie “dirt” for a dessert that tastes like childhood.
When I was a kid, my grandmother always made a massive bowl of classic dirt dessert for our summer family reunions. It was always the first thing to vanish from the dessert table, usually surrounded by a pack of laughing cousins. Last week, I decided to pack these oreo dirt cake cups into individual portions for my son’s classroom birthday party. The kids absolutely lost their minds over the creepy-crawler gummy worms, and the teacher even asked me for the recipe before the recess bell rang! If you love nostalgic, layered cookie desserts as much as my family does, you should also check out our reader-favorite Oreo Icebox Cake for your next gathering.
These individual treats are completely stress-free, require zero oven time, and look beautiful in clear cups. Let’s dive into why learning how to assemble oreo dirt cake cups belongs at your next family celebration.
Table of Contents
Why You’ll Love These Individual Dirt Cake Cups
There is a reason this classic treat remains a staple for busy parents and home bakers alike.
- No-Bake Simplicity: You don’t need to turn on your oven, making this perfect for hot summer days.
- Perfectly Portioned: Serving these as individual dirt cake cups means no messy slicing or scooping at parties.
- Kid-Approved Fun: It is a playful, interactive dessert that children love to help assemble and eat.
- Make-Ahead Friendly: You can whip up a batch of oreo dirt cake cups the night before your big event to save precious time.
Ingredients For This Chocolate Pudding Dirt Cups Recipe
This recipe uses simple, budget-friendly grocery store staples that transform into a rich, velvety treat.
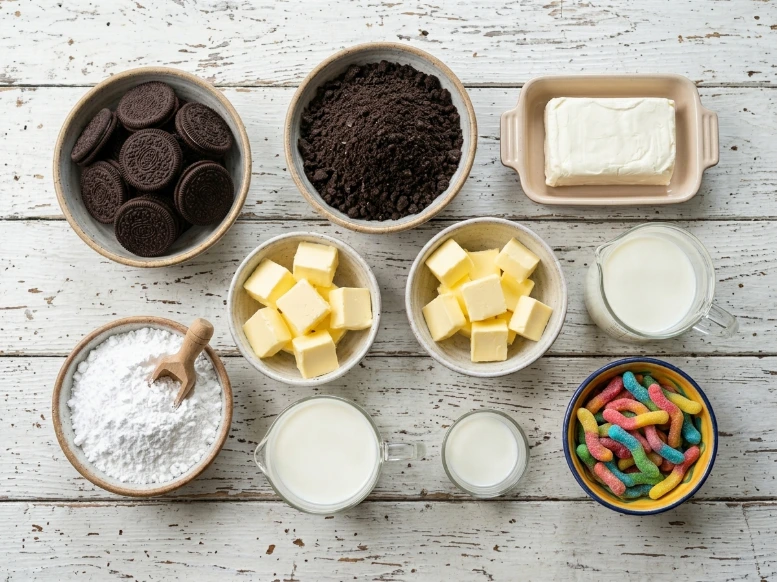
- Oreo Cookies (1 standard package): This forms our crunchy, dark chocolate soil layers.
- Instant Chocolate Pudding Mix (Two 3.9 oz boxes): Provides the deep chocolate flavor base.
- Cold Milk (3 ½ cups): To activate and properly set our instant pudding.
- Cream Cheese (8 oz, softened): Adds a rich, tangy balance so the dessert isn’t overly sweet.
- Butter (¼ cup, softened): Blends with the cream cheese and sugar for a silky texture.
- Powdered Sugar (1 cup): Sweetens our velvety cream cheese layer perfectly.
- Cool Whip (12 oz, thawed): Makes our mini dirt desserts with cream cheese light and airy.
- Gummy Worms: The essential finishing touch for that classic backyard look.
Ingredient Substitutions and Variations
- Gluten-Free: Use certified gluten-free chocolate sandwich cookies instead of classic Oreos.
- Pudding Swaps: Swap one box of chocolate pudding for vanilla or white chocolate pudding to create beautiful, contrasting stripes in your no bake oreo dirt cups.
- Homemade Whipped Cream: If you prefer not to use Cool Whip, you can easily make a stabilized whipped cream substitute using heavy whipping cream beaten with a bit of sugar.
Step-by-Step Instructions
Follow these simple steps to build the perfect layered dessert cups.
Step 1: Prep the Cookie Dirt
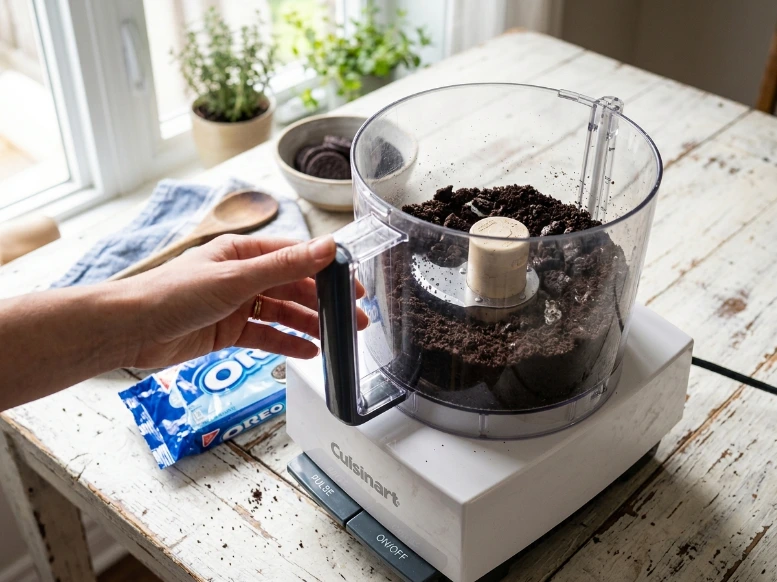
Place your entire package of Oreo cookies into a food processor. Pulse until the cookies turn into fine crumbs that look like rich garden soil. Set them aside in a medium bowl.
Step 2: Beat the Cream Cheese Base
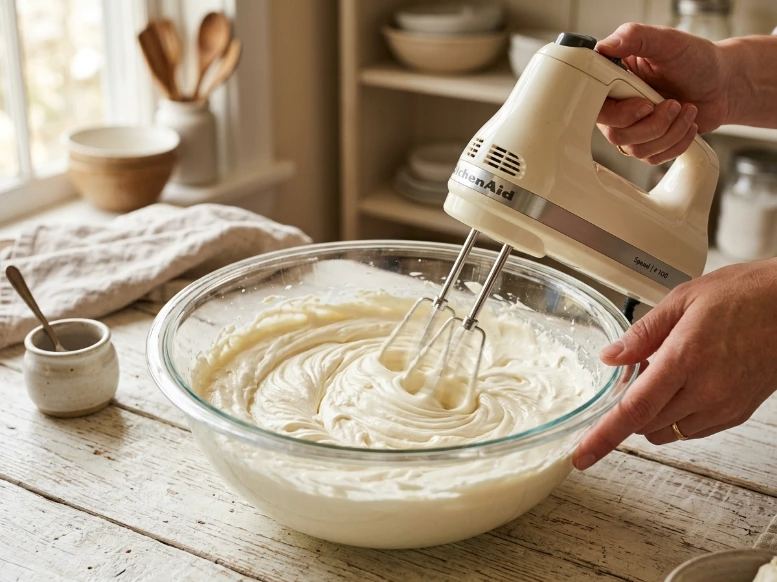
In a clean mixing bowl, beat the softened cream cheese, softened butter, and powdered sugar together using a hand mixer. Cream the ingredients on medium speed until the mixture is completely smooth, fluffy, and free of lumps.
Step 3: Mix the Chocolate Pudding
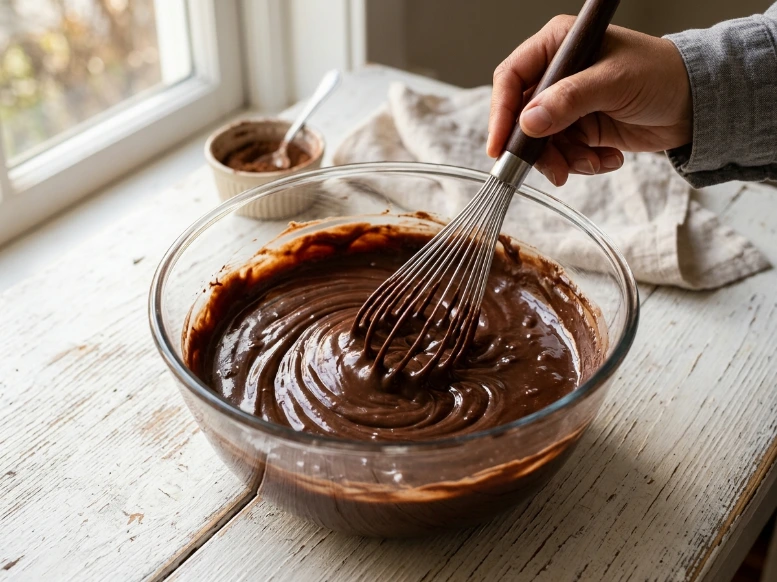
In a separate large bowl, whisk together both packages of instant chocolate pudding mix and the cold milk. Whisk vigorously for about two minutes until the pudding starts to thicken up. For the ultimate texture, it helps to understand the science of how instant pudding thickens using cornstarch starches.
Step 4: Fold and Combine
Gently fold the thawed Cool Whip into your thickened chocolate pudding. Once combined, pour in your sweet cream cheese mixture. Use a rubber spatula to gently fold everything together until you have a uniform, fluffy chocolate mousse texture for your chocolate pudding dirt cups recipe.
Step 5: Assemble the Cups
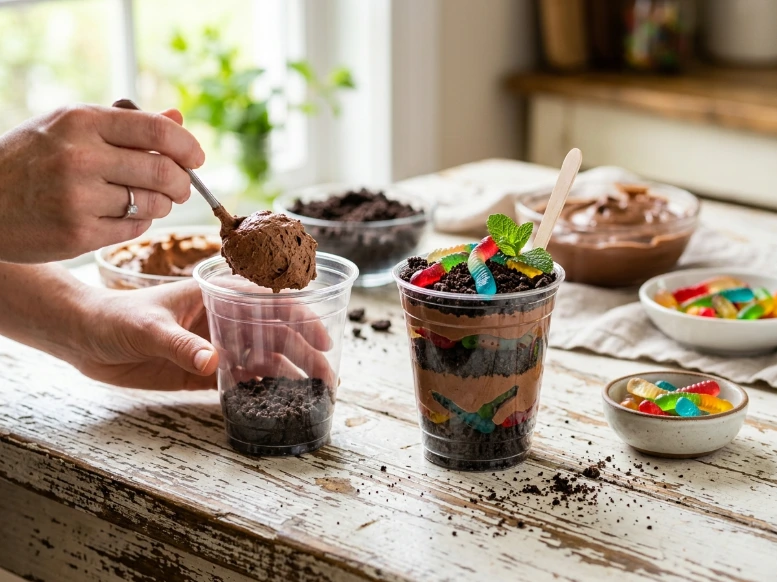
Grab twelve clear 9-ounce plastic cups. Assemble your oreo dirt cake cups using these exact layers:
- Drop 2 tablespoons of crushed Oreo crumbs into the bottom of each cup.
- Spoon or pipe a thick layer of the chocolate pudding mixture over the crumbs.
- Tuck a gummy worm against the side of the clear plastic so it’s visible.
- Add another layer of Oreo crumbs, followed by another layer of pudding.
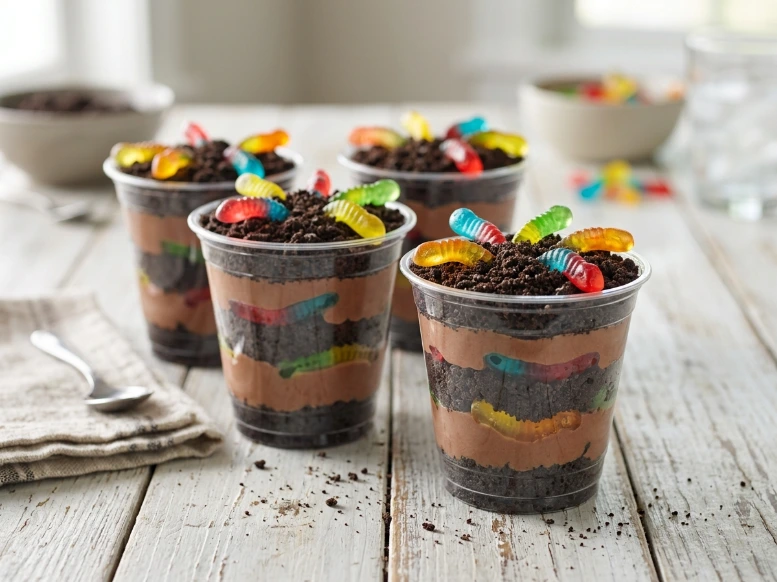
- Finish each cup with a final layer of Oreo “dirt” on top, and decorate with extra gummy worms.
Pro Tips for Perfect Results
- Pipe the Filling: For clean, beautiful layers without smudging the sides of your clear cups, scoop your pudding mixture into a gallon-sized Ziploc bag. Snip off the corner and pipe the filling into your oreo dirt cake cups cleanly.
- Soften Your Cream Cheese: Ensure your cream cheese is truly at room temperature before mixing. Cold cream cheese will create tiny, stubborn white lumps in your beautiful chocolate pudding.
- Achieve the Perfect Soil: For the best presentation, check out these expert culinary tips on how to finely crush cookies for baking to get that flawless, realistic dirt texture.
Common Mistakes to Avoid
- Don’t Use Cook-and-Serve Pudding: Always double-check your boxes at the grocery store. Cook-and-serve pudding will stay completely liquid in this recipe and ruin your beautiful layers.
- Avoid Warm Milk: Warm or room-temperature milk prevents instant pudding from setting properly. Use milk straight from the coldest part of your refrigerator.
- Don’t Over-Crush Everything: Leave a few tiny, pea-sized cookie pieces in your dirt crumbs. It adds a wonderful, unexpected texture contrast against the silky pudding inside the oreo dirt cake cups.
Creative Serving Ideas
These versatile treats can easily adapt to match any party theme or holiday table.
- Easy Kids Birthday Party Desserts: Stick small, clean plastic construction toy trucks on top of the cookie crumbs to make a “construction zone” treat.
- Halloween Graveyard Cups: Stick a rectangular Pepperidge Farm Milano cookie into the top layer of dirt to look like a tombstone, and write “R.I.P.” on it using black decorating gel.
- Easter Garden Cups: Swap out the dark Oreos for Golden Oreos to make “sand,” and top the cups with colorful marshmallow Peeps and candy robin eggs.
- Decadent Dessert Table: Serve these no bake oreo dirt cups alongside our rich Fudgy Zucchini Brownies or a stunning Homemade Dairy Queen Ice Cream Cake for an unforgettable dessert spread.
Storage & Make-Ahead Tips
- To Store: Keep your assembled oreo dirt cake cups covered tightly with plastic wrap or aluminum foil in the refrigerator for up to 3 days.
- Freezing: We do not recommend freezing this dessert. The dairy elements in the pudding and cream cheese mixture will separate upon thawing, causing the cookie layers to get completely mushy.
- Make-Ahead Strategy: If you want maximum crunch, you can whip up the pudding mixture and crush your cookies the day before. Keep them stored in separate airtight containers in the fridge, then assemble the individual oreo dirt cake cups a few hours before your guests arrive.
FAQs
Can you make Oreo dirt cake cups the day before?
Yes, you can make oreo dirt cake cups up to 24 hours in advance. Keep them covered and refrigerated until ready to serve. Making them further ahead is not recommended, as the crushed Oreo layers will begin to lose their crunch and become soggy.
What size cups are best for individual dirt desserts?
Clear 9-ounce plastic cups or small mason jars are ideal for individual dirt desserts. This size provides the perfect single-serving portion while beautifully showcasing the alternating layers of chocolate pudding and crushed Oreo “dirt.”
Can I use cook-and-serve pudding instead of instant pudding?
It is highly recommended to use instant chocolate pudding for this recipe. Instant pudding thickens quickly and holds its structure when folded with the Cool Whip and cream cheese mixture, ensuring your layers stay perfectly separated and do not become runny.
How do you crush Oreos for dirt cups without a food processor?
If you do not have a food processor, place the Oreo cookies into a large, sealed ziplock bag and roll over them firmly with a rolling pin or the back of a heavy measuring cup until they form fine, soil-like crumbs.
Final Thoughts
These classic oreo dirt cake cups are guaranteed to bring a wave of sweet nostalgia to your kitchen table. They are quick, fun, and require absolutely no baking skills to master.
Did you make this oreo dirt cake cups recipe for a birthday party or a weekend family treat? Please leave a comment below, rate the recipe card, and share your beautiful creations on Pinterest! Don’t forget to sign up for our EndRecipes newsletter so you never miss a fun, family-friendly dessert recipe.
PrintEasy No-Bake Oreo Dirt Cake Cups Recipe

These fun, no-bake Oreo Dirt Cake Cups are perfectly portioned party desserts featuring layers of rich chocolate pudding, velvety cream cheese filling, and crunchy Oreo cookie crumbs.
- Prep Time: 25 minutes
- Chill Time: 1 hour:
- Total Time: 1 hour 25 minutes
- Yield: 12 servings
- Category: Dessert
- Method: No-Bake
Ingredients
- 1 package Oreos, Crushed
- 1/2 stick Butter, Softened
- 1 cup Powdered Sugar
- 8 oz Cream Cheese, Softened
- 2 (3.9 oz each) packages Instant Chocolate Pudding
- 3 1/2 cups Milk
- 12 oz Cool Whip
- Gummy Worms
Instructions
- Crush entire package of Oreos and set aside.
- In a separate small bowl, mix butter, powdered sugar, and cream cheese until smooth.
- In a separate large bowl, mix dry pudding mix and milk together. Fold in Cool Whip. Mix.
- Pour cream cheese mixture into pudding mixture. Mix together.
- In individual cups of your choice, layer as follows: pudding mixture, gummy worm, crushed Oreos, pudding mixture, gummy worm, crushed Oreos.
- Garnish top with flowers and/or additional gummy worm and crushed Oreos.