Every summer, my family packs up the car and heads out to our favorite secluded campsite. There is simply nothing better than sitting around a crackling fire under the stars.
Of course, no camping trip is completely authentic without making our absolute favorite Cherry Mountain Pie Recipe.
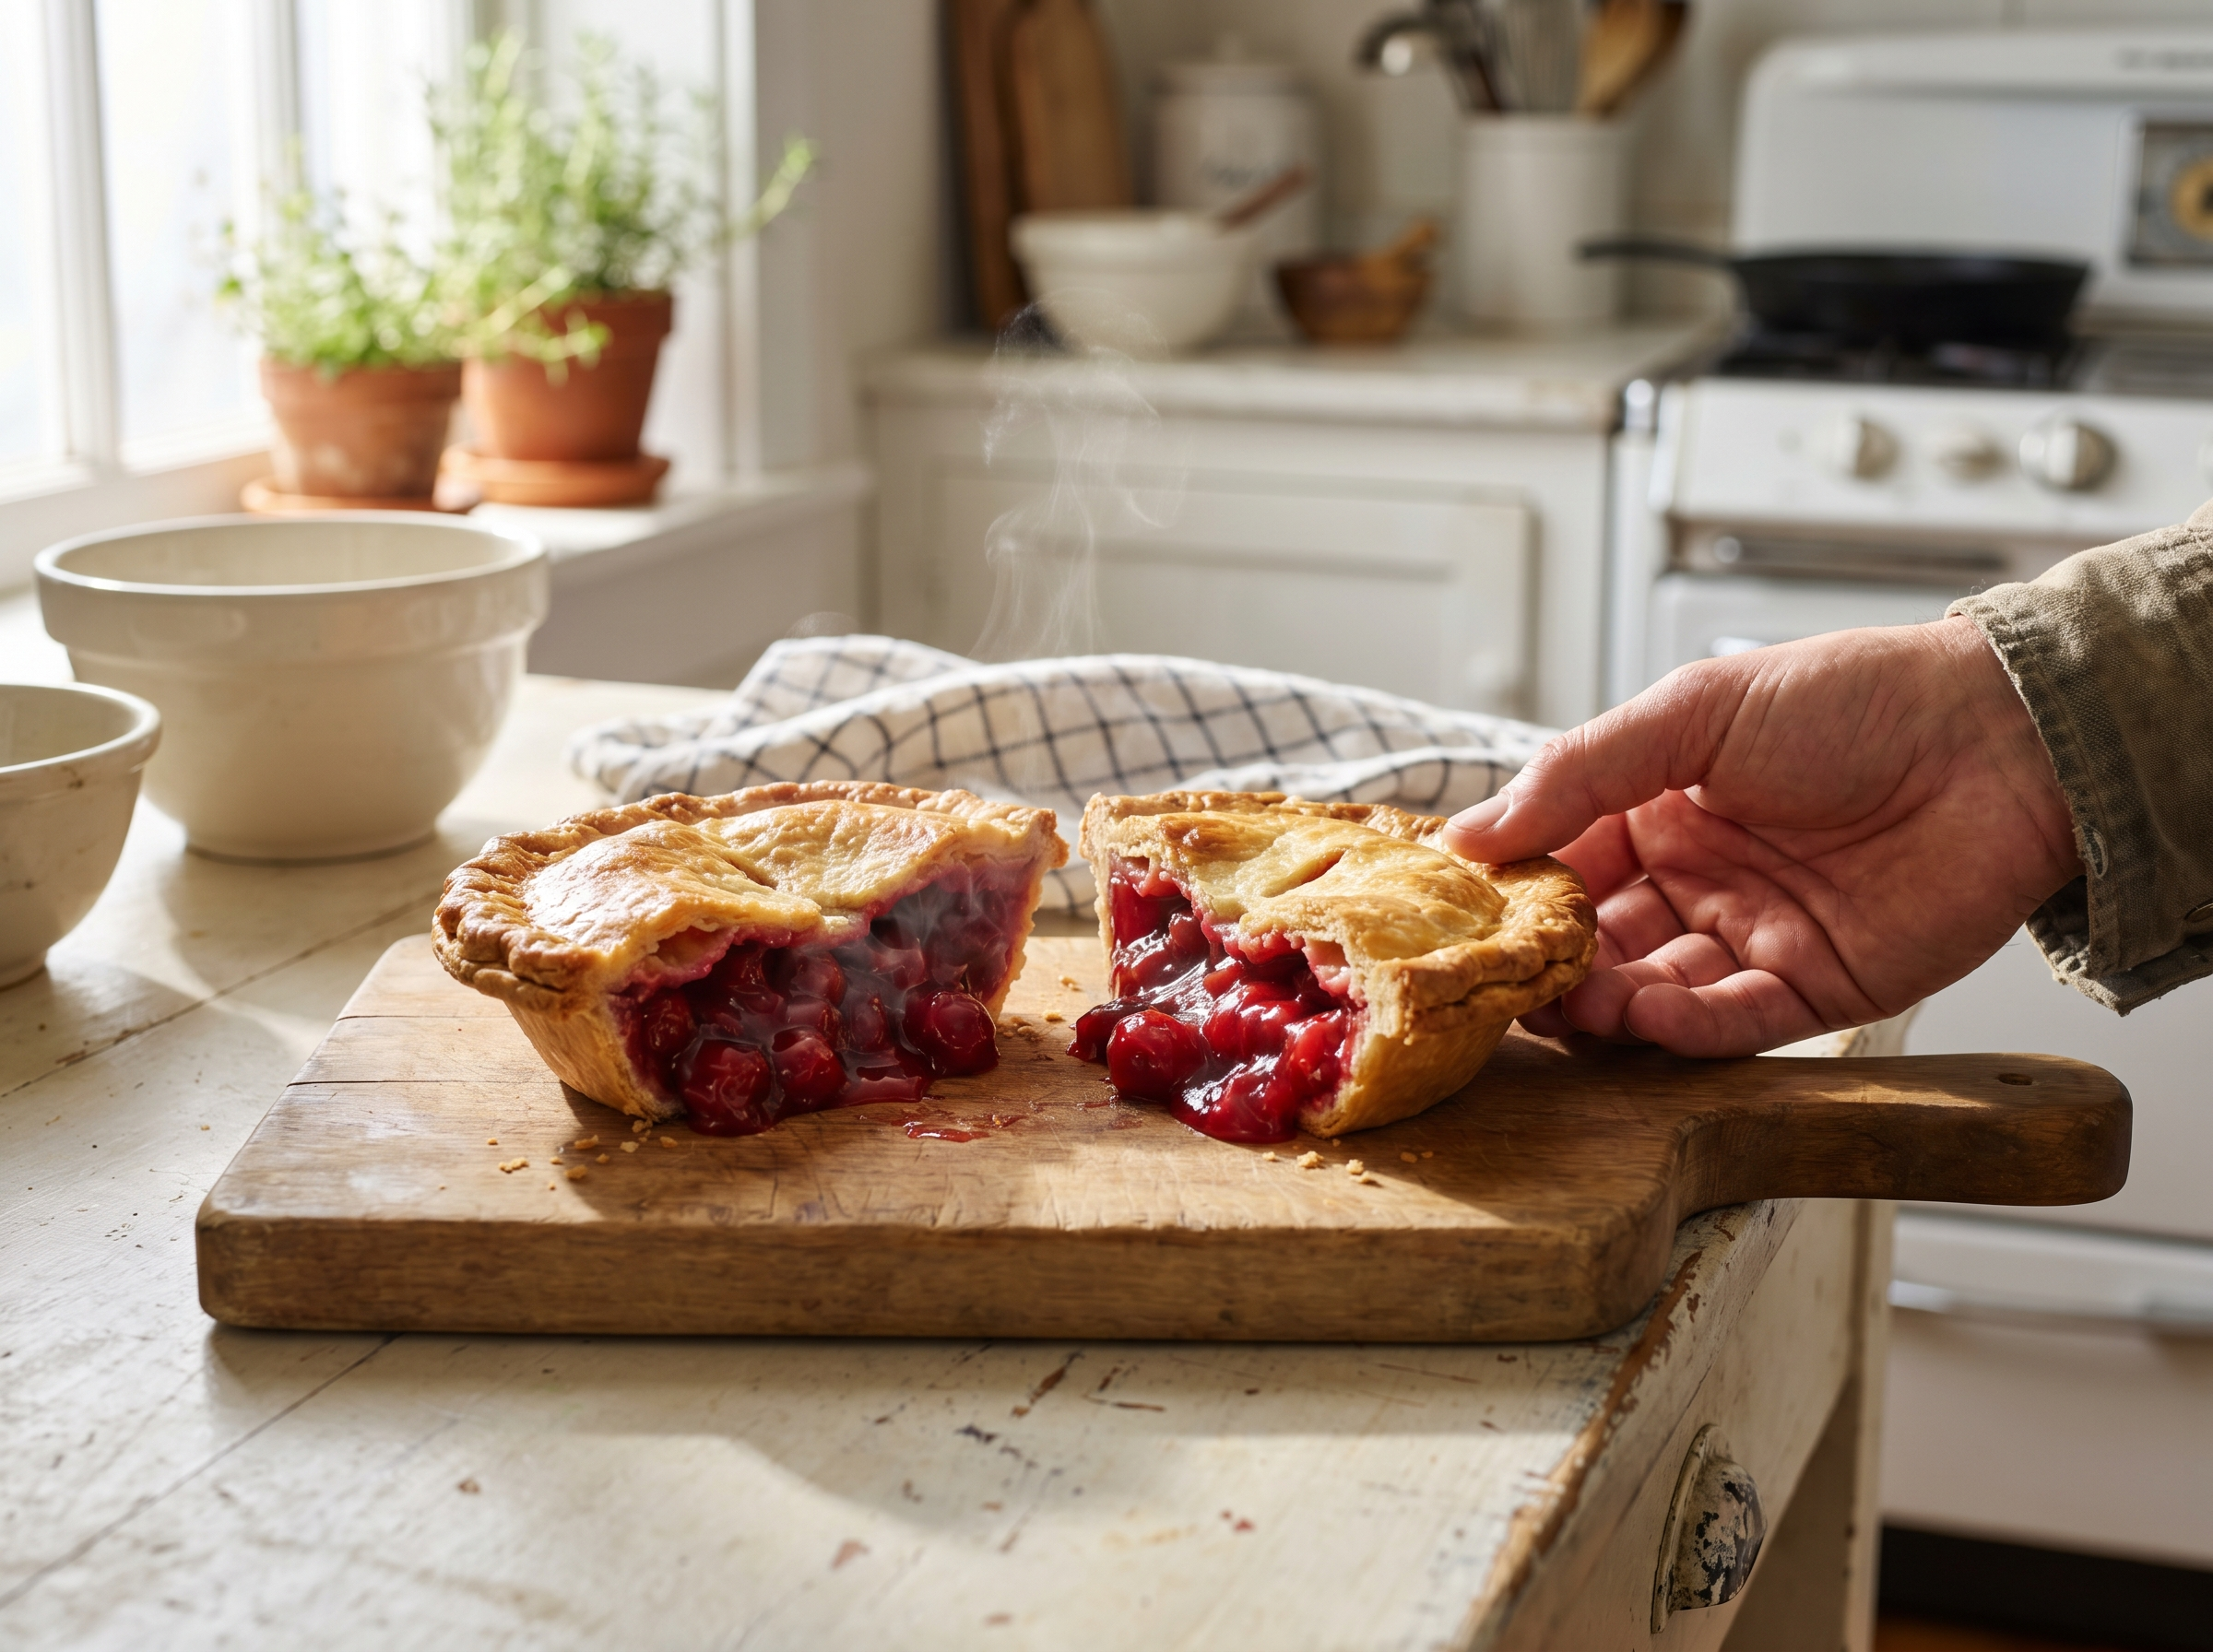
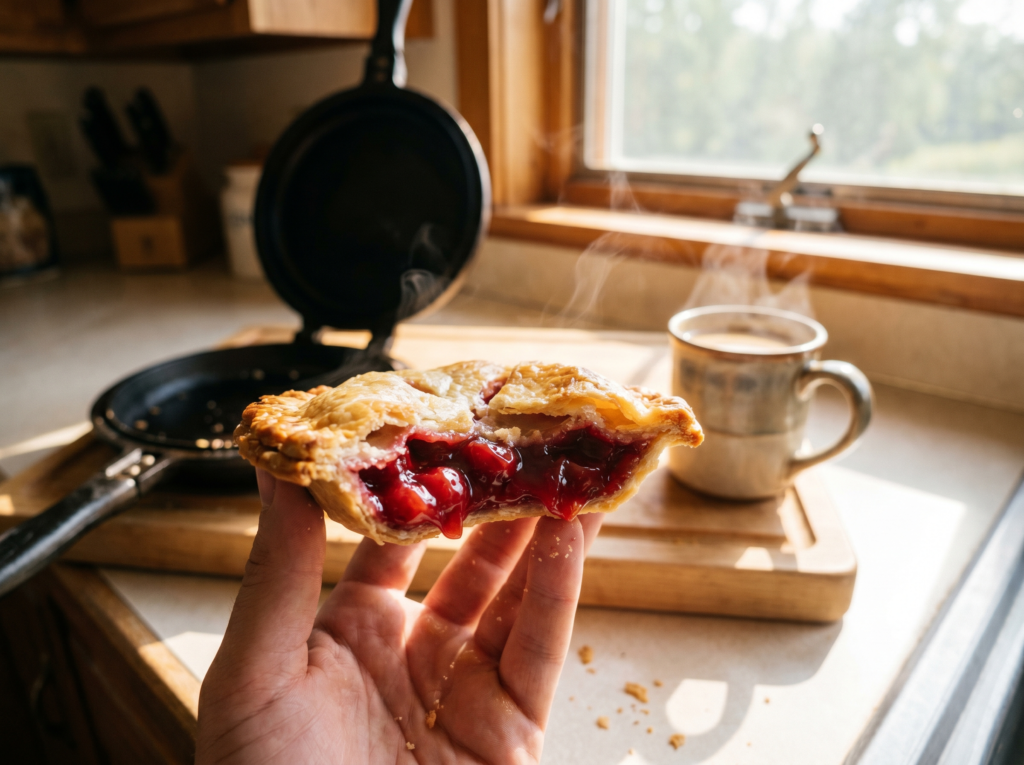
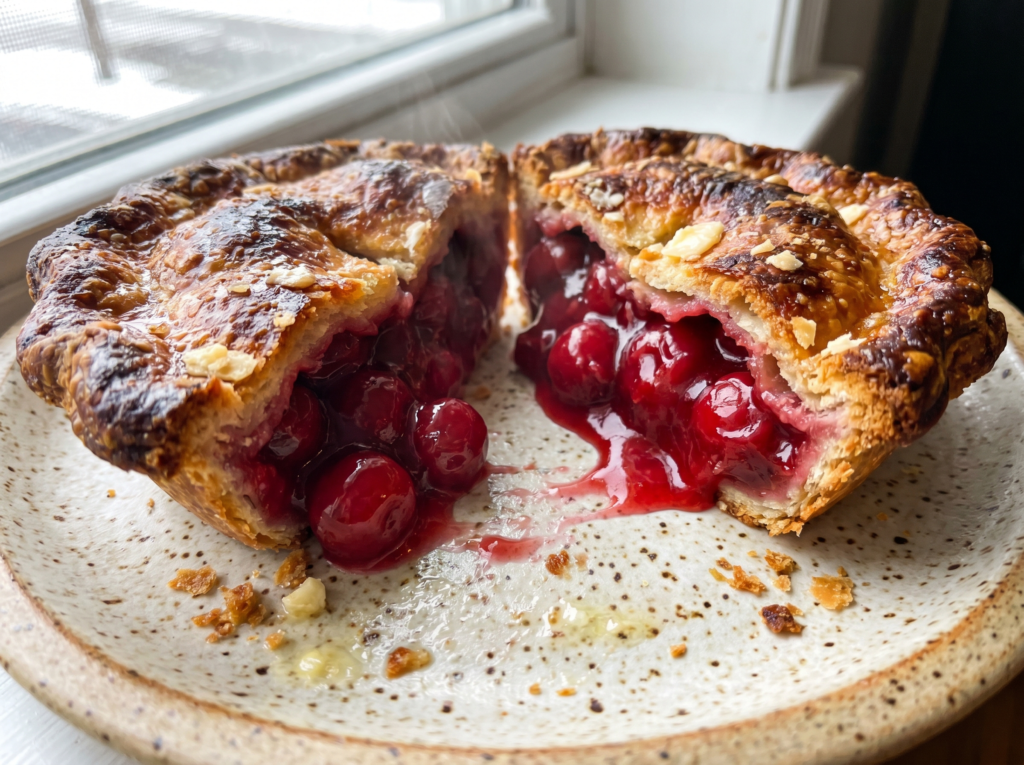
If you already love the sweet, fruity flavors of my baked Cherry Hand Pies, you are going to obsess over this easy campfire version. The crust gets incredibly buttery and toasted, while the center stays piping hot and gooey.
It is a nostalgic, classic treat that brings everyone together around the fire pit. Watching the kids patiently wait for their pie irons to cool down is a summer highlight!
Today, I am going to share exactly how to master this Cherry Mountain Pie Recipe. You will learn the best bread to use, how to avoid burnt crusts, and the secret to a perfectly sealed pie.
Table of Contents
Why You’ll Love This Cherry Mountain Pie Recipe
Making desserts over an open fire can sometimes feel intimidating. However, this recipe is completely foolproof and so much fun.
Here is exactly why this will become your go-to outdoor treat:
- Incredibly simple: You only need three basic ingredients to make this easy pudgy pie dessert.
- Kid-friendly fun: Children love helping assemble their own pies and holding the long handles over the fire.
- No messy cleanup: Because everything is contained inside the pie iron, you do not have to worry about washing sticky pots or pans.
- A true classic: This is widely considered one of the best camping pie recipes for a reason! It is warm, comforting, and perfectly sweet.
- Highly versatile: Once you master this basic Cherry Mountain Pie Recipe, you can swap out the fillings for apple, blueberry, or even savory options.
Ingredients You Will Need
You do not need a massive cooler full of groceries to make a fantastic campfire cherry pie. Keep your camping bin stocked with these simple staples.
- White Sandwich Bread: Standard, inexpensive white bread works best. It is soft and pliable, which allows the edges to crimp and seal perfectly inside the iron.
- Butter: Softened, salted butter is my top choice. It gives the crust a gorgeous golden-brown color and balances out the sweet filling.
- Cherry Pie Filling: A high-quality canned cherry pie filling is easiest for camping. It is thick, sweet, and ready to use right out of the tin.
- Cooking Spray (Optional): If you are worried about sticking, a quick spray of non-stick cooking oil inside the iron adds extra insurance.

Step-by-Step Instructions
Cooking over a campfire is an art, but making this Cherry Mountain Pie Recipe is wonderfully straightforward. Follow these steps for the perfect crunch.
Step 1: Prepare your campfire. You do not want a roaring, flaming fire. Let your firewood burn down until you have a solid bed of hot, glowing orange coals.
Step 2: Butter the bread. Take two slices of white bread. Generously butter one side of each slice, making sure to spread the butter all the way to the very edges.
Step 3: Place in the iron. Open your pie iron flat. Place one slice of bread into the bottom half of the iron, with the buttered side facing down against the metal.
Step 4: Add the cherry filling. Spoon about two tablespoons of cherry pie filling directly into the center of the bread. Do not spread it to the edges, or the pie will not seal properly!
Step 5: Close and crimp. Place the second slice of bread on top, with the buttered side facing up. Firmly close and latch the pie iron. Use a knife to trim away any excess bread crust hanging out the sides.
Step 6: Cook over the coals. Rest the heavy metal head of the pie iron directly on the hot coals. Cook for about 3 to 4 minutes per side.
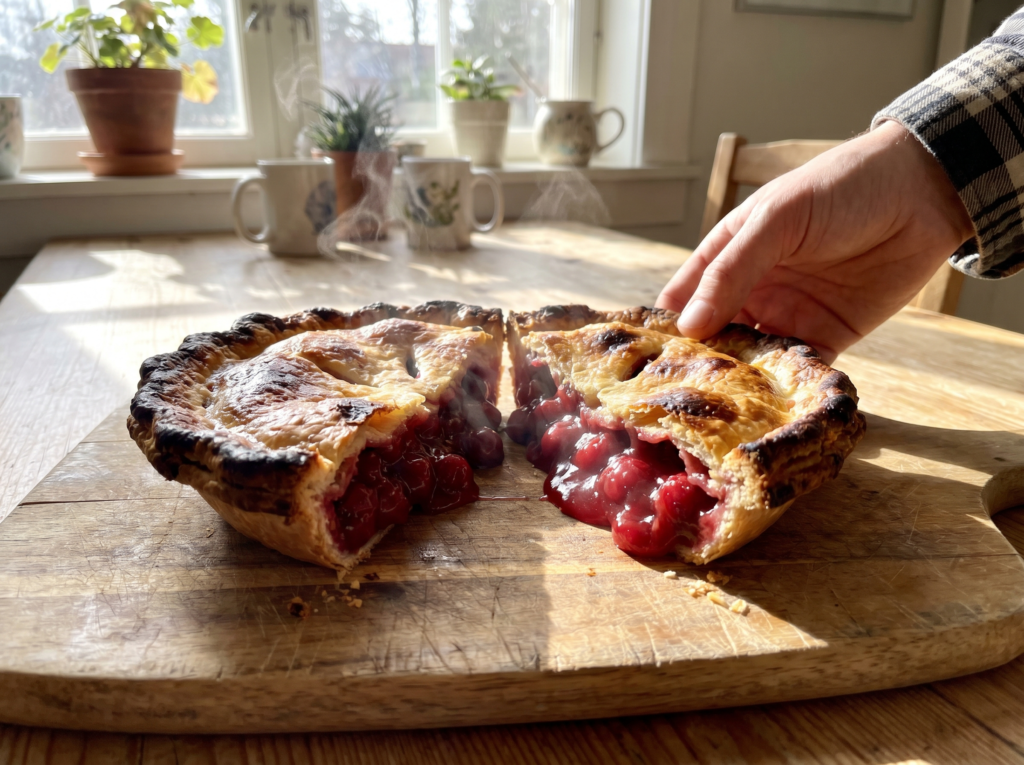
Step 7: Check and serve. Carefully unlatch the iron to check the color. Once it is a deep, crispy golden brown, carefully pop the pie out onto a paper plate. Let it cool for a few minutes before taking a bite!
Pro Tips for Perfect Results
Want to guarantee your pie iron cherry pie turns out flawless every single time? Keep these pro tips in your back pocket.
Always preheat the iron. Resting your empty pie iron over the coals for about two minutes before adding the bread makes a huge difference. It jumpstarts the toasting process and prevents sticking.
Use a cast-iron maker. Aluminum pie irons are lighter, but they heat unevenly and often scorch the bread. Invest in a heavy cast-iron pie maker for the best campfire desserts with pie iron.
Manage your heat source. . Cooking over direct flames will result in bread that is burnt to a crisp on the outside and cold in the middle. Always cook over hot, glowing embers. If you are new to outdoor cooking, I highly recommend checking out REI’s excellent guide to campfire cooking to learn how to build the perfect bed of coals!
Common Mistakes to Avoid
Even though easy mountain pie recipes are beginner-friendly, there are a few common pitfalls that can ruin your dessert.
Overfilling the pie. This is the number one mistake! If you add too much cherry filling, it will ooze out the sides, burn onto the cast iron, and pry the bread open. Stick to two tablespoons.
Using crusty artisan bread. Sourdough or thick French bread might taste great, but it will not compress and seal in a pie iron. Stick to the cheap, soft sandwich bread.
Skipping the butter. Never place dry bread into a hot iron. It will instantly stick and tear. If you run out of butter, use a heavy coating of non-stick spray.
(Pro Tip: While you are waiting for the campfire to die down into coals, keep your family happy with a fresh, no-cook appetizer like my Caprese Salad Skewers with Balsamic Glaze!)
Serving Ideas
This cherry pie iron recipe is absolutely fantastic on its own, served straight off a paper plate in a camping chair. However, you can easily dress it up!
If you are “glamping” or making these over a backyard fire pit, serve them with a generous dusting of powdered sugar.
They also pair beautifully with a cold scoop of vanilla bean ice cream or a massive dollop of fresh whipped cream.
If you have leftover bread and a hot fire the next morning, do not let those coals go to waste! Use your leftover camping ingredients to prep my ultimate French Toast Casserole Recipe to feed a crowd.
Storage & Make-Ahead Tips
Campfire desserts are generally best enjoyed fresh, right as they come out of the fire. However, you can definitely save your leftovers.
To store: Let the mountain pie cool completely to room temperature. Wrap it tightly in heavy-duty aluminum foil and store it in your camping cooler for up to 2 days.
To reheat: The best way to reheat a Campfire cherry pie is to place the foil-wrapped pie on the warm edge of the fire grate or a camp stove for about 10 minutes.
You can also reheat them in a traditional oven at 350°F until warmed through and crispy again.
FAQs
What kind of bread is best for mountain pies?
Standard white sandwich bread usually works best for mountain pies! It is soft enough to crimp perfectly in the pie iron, sealing the sweet filling inside. Avoid thick, crusty artisan breads or breads with large holes, as the filling will leak out into the fire.
Do you need to grease a pie iron?
Yes, absolutely! You should either generously butter the outside of both slices of bread or spray the inside of your cast-iron pie iron with non-stick cooking spray. This guarantees the pie won’t stick to the metal and helps create that irresistible, golden-brown crispy crust.
Can I use fresh cherries instead of canned pie filling?
You can, but it requires prep work! If you use raw cherries, they will release too much water and make your bread soggy. You need to cook the fresh cherries down in a saucepan with a little sugar and cornstarch first. For classic camping convenience, canned pie filling is definitely the easiest route.
How long does a mountain pie take to cook over a campfire?
It typically takes about 3 to 5 minutes per side, but it depends heavily on your fire. The secret is to cook your pie iron over hot, glowing coals rather than an open, roaring flame. Open the iron and check it after a few minutes—you are looking for a perfectly toasted, golden-brown exterior!
Final Thoughts
I truly hope this Cherry Mountain Pie Recipe brings a little extra sweetness to your next outdoor adventure. It is a time-honored camping tradition that never fails to put a smile on everyone’s face.
Whether you are deep in the woods or just sitting around a backyard fire pit, these crispy, gooey treats are guaranteed to hit the spot.
If you loved this Cherry Mountain Pie Recipe, please drop a comment below! I would love it if you could give the recipe a 5-star rating and share it with your friends on Pinterest.
Do you want more easy, family-friendly recipes and outdoor cooking hacks? Be sure to subscribe to the EndRecipes newsletter so you never miss a delicious new post!
PrintCherry Mountain Pie Recipe
- Prep Time: 5 minutes
- Cook Time: 10 minutes
- Total Time: 15 minutes
- Yield: 1 Mountain Pie
- Category: Dessert
Ingredients
-
2 slices soft white sandwich bread
-
1 tablespoon salted butter, softened
-
2 tablespoons canned cherry pie filling
-
Non-stick cooking spray (optional, for the pie iron)
Instructions
- Prep the fire: Allow your campfire to burn down until you have a solid bed of hot, glowing coals.
-
Butter the bread: Spread softened butter generously over one side of both slices of bread, reaching all the way to the edges.
-
Load the iron: Place one slice of bread into the bottom half of an open pie iron, buttered side facing down against the metal.
-
Add the filling: Spoon the cherry pie filling directly into the center of the bread slice. Do not spread it to the crust.
-
Seal the pie: Place the second slice of bread on top, buttered side facing up. Close the pie iron tightly and latch the handles.
-
Trim: Use a knife to trim away any excess bread crust hanging outside the iron.
-
Cook: Place the heavy metal end of the iron directly onto the hot coals. Cook for 3 to 4 minutes per side.
-
Serve: Unlatch carefully to check for a golden-brown crust. Pop the pie onto a plate, let cool for a few minutes, and enjoy!