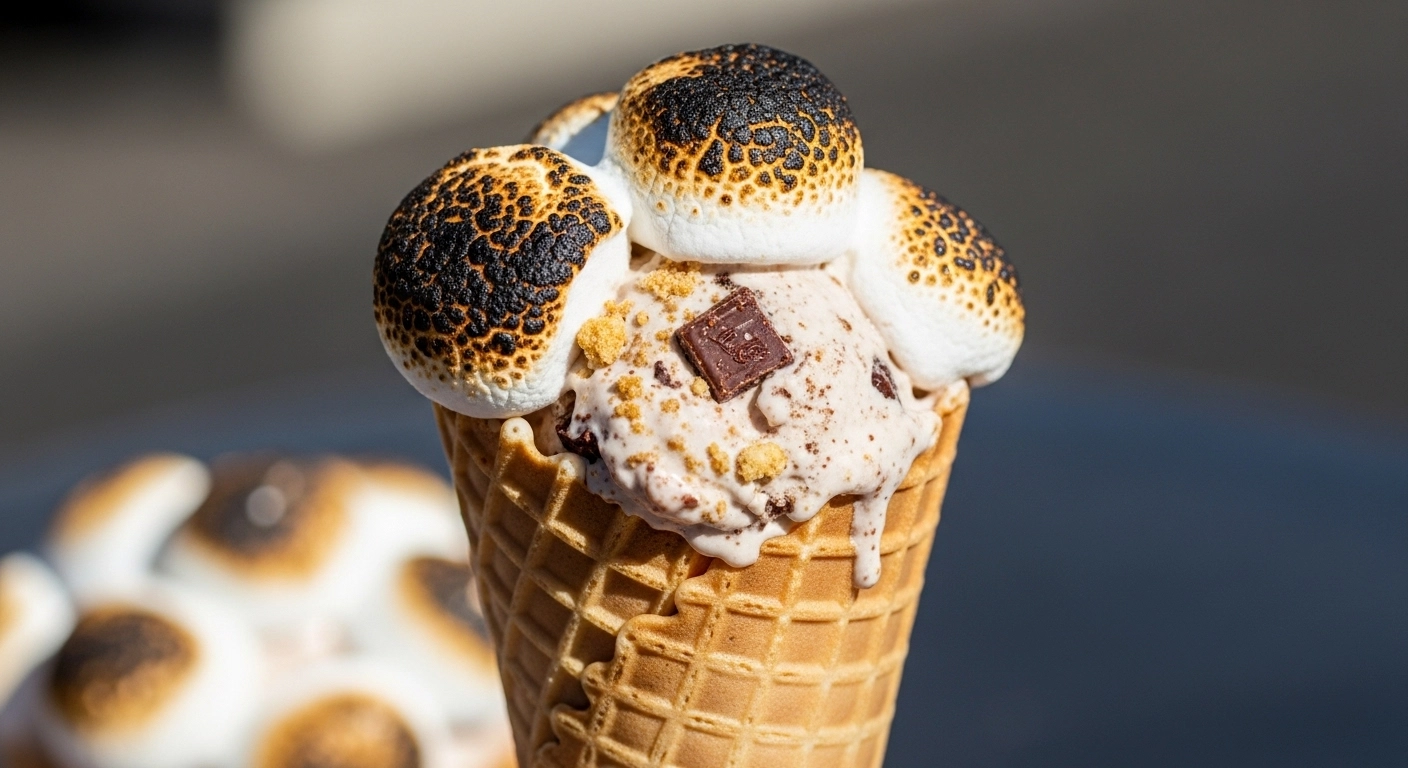
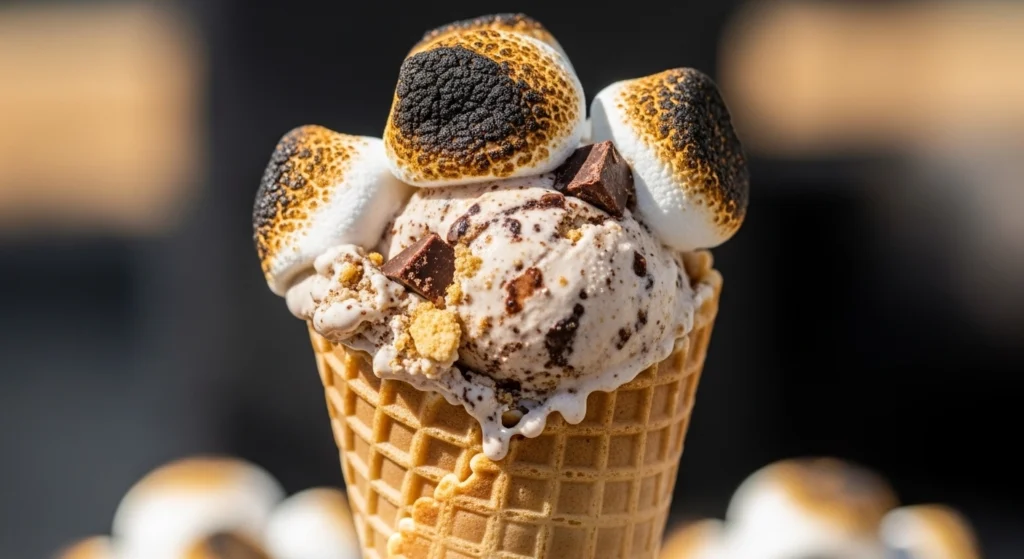
There is absolutely nothing that screams summer quite like a massive scoop of this Campfire S’mores Ice Cream. It has all the smoky, gooey, chocolatey goodness of your favorite outdoor treat, but in a refreshing frozen dessert.
Last weekend, we had a sudden summer thunderstorm that completely ruined our plans for a backyard fire pit. The kids were devastated about missing out on their favorite part of the night.
Instead of letting the rain ruin our evening, I brought the campfire indoors! We whipped up this incredible frozen treat right in the kitchen.
It completely saved the night. It actually reminded me of the time we made my favorite Homemade Orange Creamsicle Popsicle Recipe when the ice cream truck skipped our street.
Let me show you exactly how to make this smoky, sweet, and incredibly easy dessert without any special equipment!
Table of Contents
Why You’ll Love This Campfire S’mores Ice Cream
Making homemade ice cream usually sounds intimidating. Most people think you need an expensive, bulky machine taking up counter space.
This recipe proves that theory completely wrong. It is a foolproof No churn s’mores ice cream that comes together in minutes.
Here is exactly why this recipe will become your family’s new summer obsession:
- No special equipment: This is a truly Easy ice cream without a machine. All you need is a hand mixer and a freezer-safe container.
- Authentic flavor: We actually toast the marshmallows before adding them, giving you that genuine Summer campfire dessert taste.
- Texture perfection: It is the ultimate Graham cracker and chocolate chunk ice cream, packed with crunchy, chewy, and creamy textures in every bite.
- Kid-friendly: Getting the kids involved in crumbling the crackers and folding the mixture is a fun, messy weekend activity!
Ingredients You Need
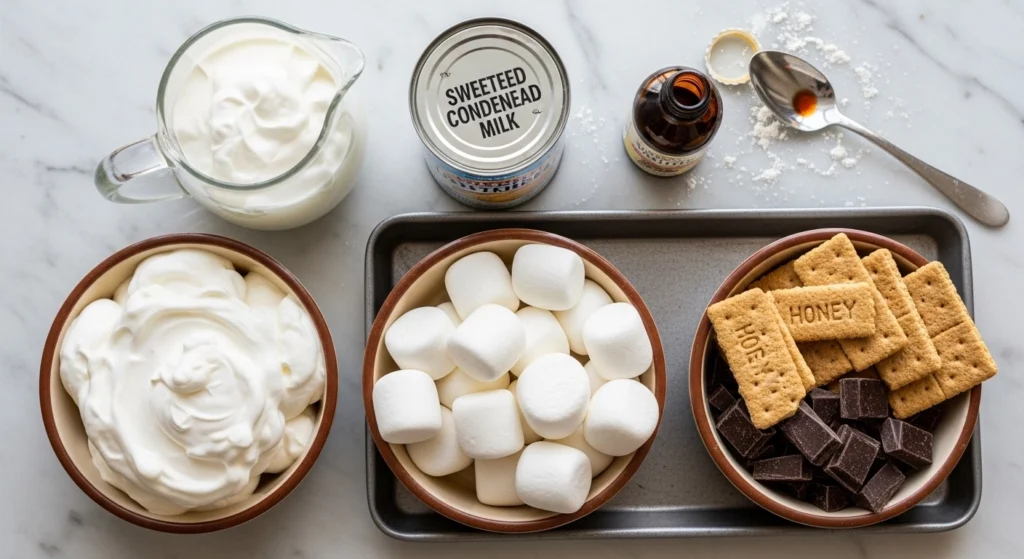
You only need six basic ingredients to make this Homemade s’mores ice cream recipe. You probably already have half of them in your pantry right now!
Here is what you need to gather to make the magic happen:
- Heavy Whipping Cream: You need 2 cups of very cold heavy whipping cream. This is the base that gives your ice cream that luxurious, airy texture.
- Sweetened Condensed Milk: One 14-ounce can is all you need. This provides the perfect amount of sweetness and keeps the ice cream soft and scoopable.
- Vanilla Extract: A splash of pure vanilla extract enhances the sweet cream flavor.
- Marshmallows: You will need about two cups of standard marshmallows. We are going to toast these to create a rich Toasted marshmallow ice cream base.
- Graham Crackers: Grab about one sleeve of honey graham crackers. Break them into bite-sized chunks so they hold up in the freezer.
- Chocolate Chunks: I highly recommend using a chopped-up Hershey’s bar or semi-sweet chocolate chunks instead of regular chips. It feels more authentic to a real s’more!
Step-by-Step Instructions
You are going to be shocked by how quickly this Campfire S’mores Ice Cream comes together.
Step 1: Prep your pan. Line a baking sheet with parchment paper. Place your marshmallows in a single layer on the pan.
Step 2: Toast the marshmallows. Use a kitchen torch to toast the tops until they are golden brown and blistered. Alternatively, pop them under your oven’s broiler for 1 to 2 minutes. Watch them closely!
Step 3: Cool completely. This is vital. Let the toasted marshmallows cool completely on the counter. If they are warm, they will melt your cold cream.
Step 4: Whip the cream. In a large, chilled glass or metal mixing bowl, use a hand mixer to beat the cold heavy whipping cream until stiff peaks form.
Step 5: Add the sweetness. Gently pour the can of sweetened condensed milk and the vanilla extract into the whipped cream. Use a silicone spatula to fold it in slowly.
Step 6: Add the mix-ins. Gently fold in your cooled toasted marshmallows, chopped chocolate chunks, and broken graham cracker pieces.
Step 7: Transfer to a pan. Pour the thick Campfire S’mores Ice Cream base into a metal loaf pan or a freezer-safe container. Smooth out the top.
Step 8: Garnish. Press a few extra pieces of graham cracker, chocolate, and a couple of mini marshmallows right onto the top for a beautiful presentation.
Step 9: Freeze. Wrap the pan tightly with plastic wrap. Place it in the coldest part of your freezer for at least 6 to 8 hours, or preferably overnight.
Pro Tips for Perfect Results
Want to guarantee your Campfire S’mores Ice Cream turns out flawlessly scoopable? Keep these simple kitchen tips in mind.
Chill your bowl. Place your metal or glass mixing bowl in the freezer for 15 minutes before whipping your cream. Cold equipment whips cream faster and holds the volume better.
Do not over-mix. When combining the condensed milk with the whipped cream, use a gentle folding motion. If you stir too aggressively, you will deflate the air you just whipped in.
Keep the chunks big. Don’t crush your graham crackers into a fine dust. You want rustic, bite-sized pieces so they retain their crunch after freezing!
Common Mistakes to Avoid
Even an easy, no-churn recipe can have a few pitfalls. Avoid these common mistakes for the absolute best results.
Using warm marshmallows. If you add freshly toasted marshmallows directly to the cold cream, the heat will melt the fat in the cream, leaving you with a soupy, icy mess.
Using low-fat milk. You cannot substitute half-and-half or whole milk for heavy whipping cream in this recipe. The high fat content is required to hold the air bubbles.
Storing without a cover. Ice cream absorbs freezer odors incredibly fast. Always press a layer of plastic wrap directly onto the surface of the ice cream to prevent ice crystals and off-flavors.
Serving Ideas
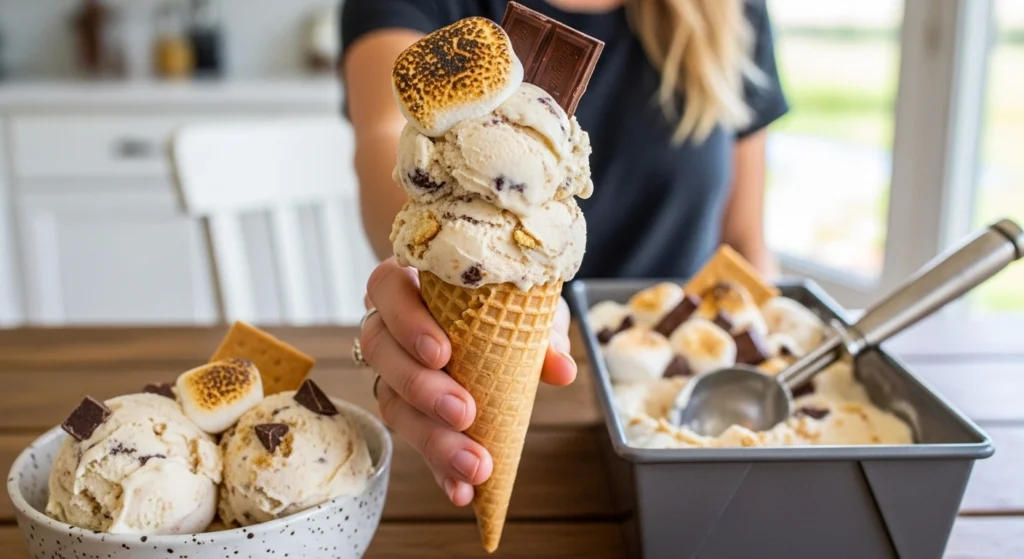
This Campfire S’mores Ice Cream is incredibly rich and satisfying on its own, but it is also fun to dress up!
Serve a massive scoop inside a waffle cone for a portable summer treat. You can even dip the rim of the cone in melted chocolate and roll it in graham cracker crumbs first!
If you are hosting a large summer potluck, serve scoops of this ice cream right alongside a slice of my incredibly popular No Bake Icebox Cake Recipe. The flavors pair beautifully together.
For days when you want a lighter frozen option to balance out the week, you can always alternate this rich treat with a bowl of my quick and refreshing Healthy Banana Nice Cream.
Storage & Make-Ahead Tips
One of the best things about no-churn ice cream is how perfectly it stores.
Make-Ahead Magic: This ice cream requires at least 8 hours to freeze solid, making it the ultimate make-ahead dessert for weekend parties.
How to store: Keep the ice cream tightly wrapped in its loaf pan, or transfer it to an airtight plastic freezer tub. Press a small piece of parchment paper directly against the surface of the ice cream to prevent freezer burn.
How long it lasts: When stored correctly, your homemade ice cream will stay fresh, creamy, and flavorful in the freezer for up to one month!
How do you make ice cream without an ice cream maker?
Making no-churn ice cream is incredibly easy! You simply whip cold heavy whipping cream until stiff peaks form, and then gently fold in a can of sweetened condensed milk along with vanilla extract. This creates a rich, creamy base that freezes beautifully without the need for an ice cream machine.
How do you toast marshmallows indoors for s’mores ice cream?
To get that authentic campfire flavor indoors, you can use a kitchen torch to toast your marshmallows. Alternatively, place them on a parchment-lined baking sheet and pop them under your oven’s broiler for 1 to 2 minutes. Watch them closely so they don’t burn, and let them cool completely before folding them into your ice cream base.
How long does no-churn ice cream take to freeze?
For the best scoopable texture, no-churn ice cream needs to freeze for at least 6 to 8 hours. However, leaving it in the freezer overnight yields the absolute best results, ensuring the ice cream is completely firm and set.
Can I use marshmallow fluff instead of real toasted marshmallows?
Yes, you can easily substitute marshmallow fluff by swirling it directly into the ice cream base. While it will still be delicious and give you that sweet marshmallow flavor, using real, toasted marshmallows is highly recommended to achieve that distinct, smoky “campfire” taste.
Final Thoughts
I am so incredibly excited for you to try a batch of this Campfire S’mores Ice Cream. It is the absolute perfect way to enjoy those classic summer flavors without smelling like a bonfire!
Whether you are enjoying a bowl on the back porch or serving it up at a family barbecue, it is guaranteed to be a massive hit.
If you make this Campfire S’mores Ice Cream, I would absolutely love to hear about it! Please leave a comment and rate the recipe down below to let me know how it turned out.
Do not forget to snap a quick photo and share it on your favorite Pinterest dessert board so you always have this recipe saved for your next craving!
For more easy, family-friendly recipes sent directly to your inbox, be sure to sign up for the free EndRecipes newsletter today!
PrintCampfire S’mores Ice Cream

- Prep Time: 15 minutes
- Cook Time: 8 hours
- Total Time: 8 hours 15 minutes
- Yield: 8 servings
Ingredients
-
2 cups heavy whipping cream, very cold
-
1 (14 oz) can sweetened condensed milk, cold
-
1 teaspoon pure vanilla extract
-
2 cups large marshmallows
-
1 cup graham crackers, broken into bite-sized pieces
-
1 cup semi-sweet chocolate chunks (or chopped chocolate bars)
Instructions
-
Toast Marshmallows: Line a baking sheet with parchment paper. Arrange the marshmallows in a single layer. Use a kitchen torch to toast the tops until dark and bubbly, or place under your oven broiler for 1-2 minutes (watch closely!). Let them cool completely.
-
Whip Cream: In a large, chilled mixing bowl, use a hand mixer to beat the cold heavy whipping cream until stiff peaks form. Do not overmix into butter!
-
Fold Base: Pour the sweetened condensed milk and vanilla extract into the whipped cream. Use a rubber spatula to gently fold the mixture together until smooth.
-
Add Mix-Ins: Gently fold the cooled toasted marshmallows, broken graham crackers, and chocolate chunks into the cream mixture.
-
Transfer: Pour the ice cream base into a 9×5-inch metal loaf pan or a freezer-safe container. Smooth the top with a spatula.
-
Garnish: Gently press a few extra pieces of chocolate, graham crackers, and untoasted mini marshmallows into the top for presentation.
-
Freeze: Cover tightly with plastic wrap, ensuring it touches the surface of the ice cream to prevent freezer burn. Freeze for at least 8 hours or overnight.
-
Serve: Let the ice cream sit on the counter for 5 minutes to soften slightly before scooping. Enjoy!