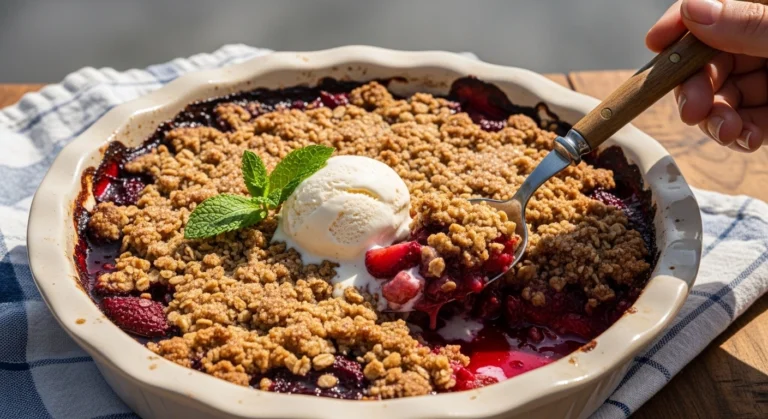
Growing up, every single summer birthday in my family meant one thing. We were driving down to the local drive-thru to pick up a classic blue-and-white cardboard box. Inside was a frozen masterpiece.
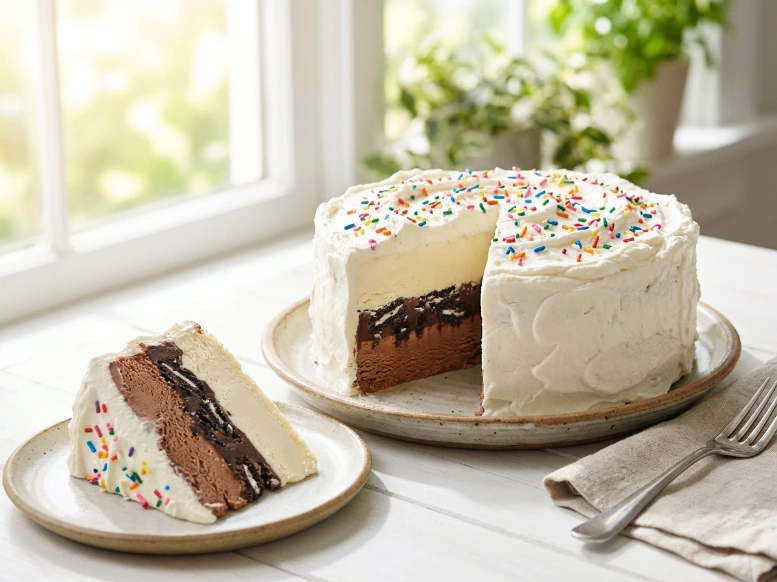
Nothing beats that iconic combination of chocolate and vanilla layers separated by a rich, dark fudge center and crisp cookie bits. I wanted to recreate that exact childhood magic in my own kitchen this summer.
This homemade dairy queen ice cream cake is the exact copycat version you have been searching for. It requires zero baking and tastes even better than the original version from the store.
If you love simple, crowd-pleasing desserts that keep your kitchen cool, you should also check out our creamy Oreo Icebox Cake. It uses similar flavor profiles and is just as easy to whip up on a hot afternoon.
Table of Contents
Why You’ll Love This Homemade Dairy Queen Ice Cream Cake
Making a homemade dairy queen ice cream cake at home is incredibly rewarding. It saves money and allows you to customize the flavors exactly how you want.
- Completely No-Bake: You do not need to turn on your oven at all, making this a perfect hot-weather project.
- Massive Crowd Pleaser: Kids and adults alike lose their minds when you bring this out to the table.
- Simple Ingredients: Everything can be found at your regular local grocery store.
- Make-Ahead Friendly: You can build this days in advance and keep it tucked away in your freezer until party time.
Ingredients for Your Homemade Dairy Queen Ice Cream Cake
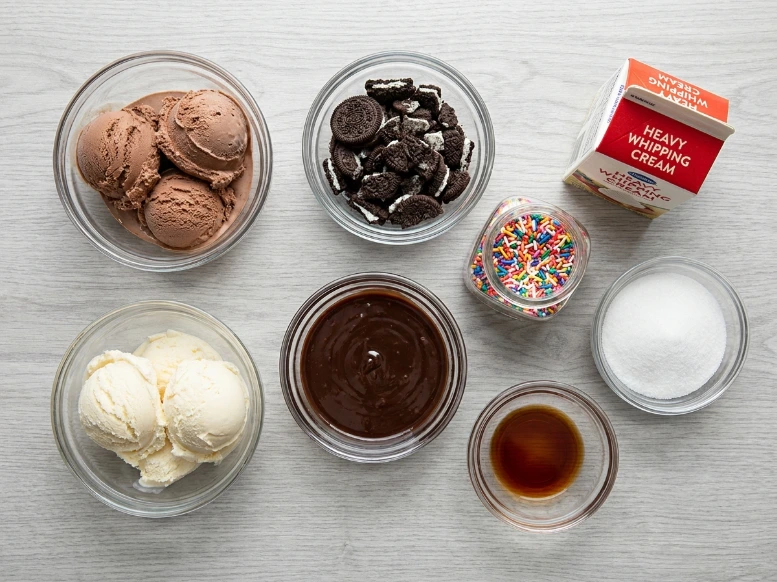
Here is what you will need to grab from the store to create this beautiful chocolate and vanilla ice cream cake.
The Ice Cream Layers
- Chocolate Ice Cream (2 Quarts): Choose a high-quality, creamy brand for the foundational bottom layer.
- Vanilla Ice Cream (2 Quarts): This creates the clean, classic top layer of your cake.
The Famous Crunch Center
- Oreo Cookies (24 cookies): Keep the cream filling inside the cookies when you crush them. It helps create the perfect texture.
- Hot Fudge Sauce (2 cups): Buy a thick, high-quality store brand or use your favorite homemade recipe.
The Frosting & Toppings
- Heavy Whipping Cream (2 cups): Must be very cold so it whips up into stable peaks.
- Granulated Sugar (4 tablespoons): Adds just enough sweetness to the topping.
- Vanilla Extract (2 teaspoons): Use pure vanilla extract for the best flavor profile.
- Rainbow Sprinkles: Essential for that authentic, festive birthday appearance.
Step-by-Step Guide: How to Make an Ice Cream Cake at Home
Learning how to make an ice cream cake at home is all about timing and patience. The actual hands-on work for this no-bake ice cream cake is minimal, but you need to let the freezer do its job between steps.
Step 1: Prep the Pan
Line a 9-inch springform pan with a layer of plastic wrap. Leave plenty of overhang on the sides so you can easily pull the cake out later.
Step 2: The Chocolate Base
Set your chocolate ice cream out on the counter for 10 to 15 minutes to soften slightly. Spread it into an even layer at the bottom of your prepared pan. Smooth the top with an offset spatula, then freeze for 30 minutes.
Step 3: Add the Dairy Queen Cake Crunchies Recipe Layer
Pour your hot fudge sauce into a bowl. If it is too thick, warm it slightly in the microwave so it is spreadable but not hot. Spread it evenly over the frozen chocolate layer.
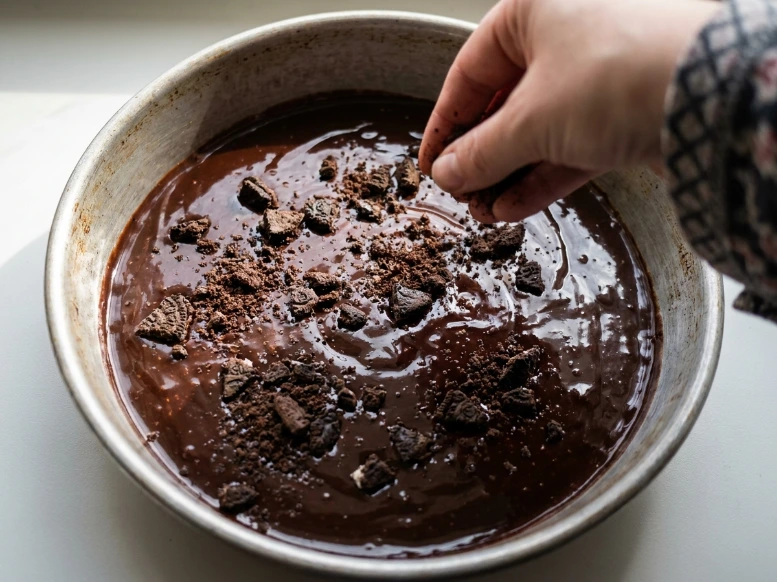
Crush your Oreos finely in a zip-top bag using a rolling pin. Sprinkle the cookie crumbs generously over the hot fudge. Press down gently with your fingers so the crumbs stick. Return the pan to the freezer for 45 minutes to set completely.
Step 4: The Vanilla Top Layer
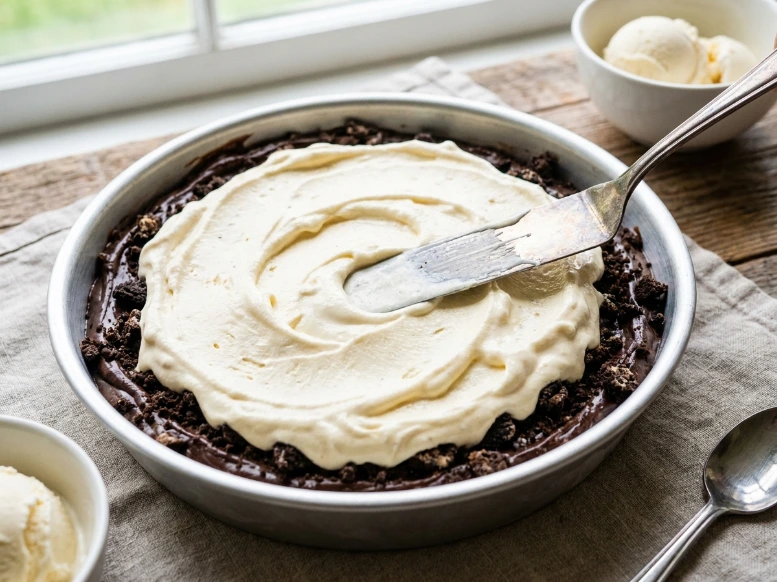
Soften your vanilla ice cream on the counter for a few minutes. Carefully dollop it over the crunchy cookie layer. Smooth it out gently so you don’t disturb the crunchies beneath. Cover the pan tightly and freeze for at least 8 hours, or overnight.
Step 5: Unmold the Cake
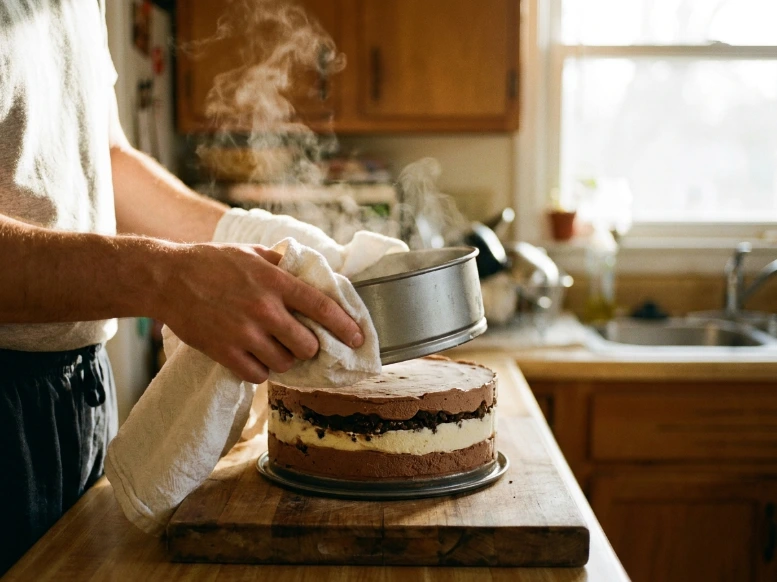
Remove the sides of your springform pan. Carefully invert the cake onto a cardboard round or serving plate. Wrap a warm, damp kitchen towel around the sides of the pan for 30 seconds to help it slide off cleanly. Peel away the plastic wrap and pop the cake back into the freezer while you make the frosting.
Step 6: Make the Whipped Cream Frosting for Ice Cream Cake
In a chilled bowl, combine the heavy cream, sugar, and vanilla extract. Beat on medium-high speed until the mixture holds stiff peaks.
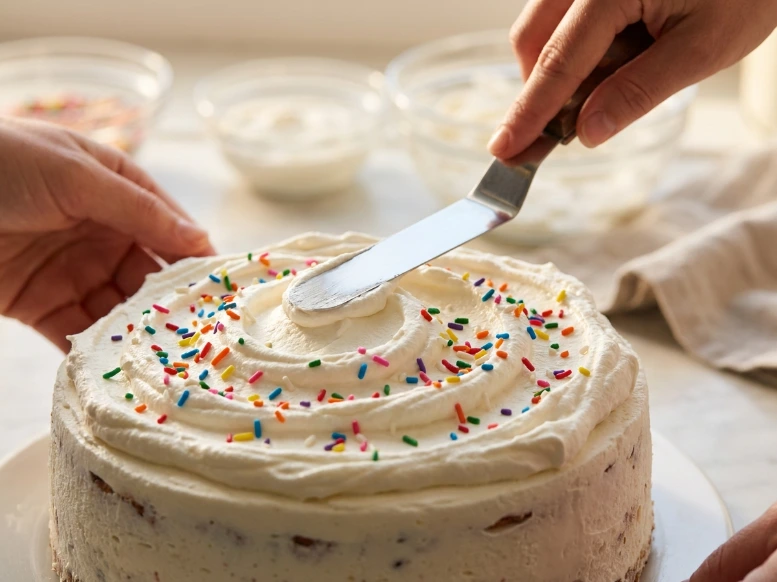
Working quickly, spread the whipped cream all over the top and sides of the frozen cake. If you have extra, pipe a decorative border around the edges. Toss on your rainbow sprinkles and return the finished cake to the freezer for at least 1 hour before slicing.
Pro Tips for the Best Homemade Dairy Queen Ice Cream Cake
- Watch the Ice Cream Texture: You want the ice cream to feel like soft-serve consistency when spreading. If it melts into a liquid puddle, it will freeze back up with icy, crunchy crystals.
- Chill Your Tools: Put your metal mixing bowl and beaters in the freezer for 15 minutes before making your whipped cream frosting for ice cream cake. It makes the cream whip up much faster.
- Add Extra Richness: If you love deep, chocolatey profiles, try pairing a slice of this cake with our fudgy Zucchini Brownies on your dessert platter.
- Use Heavy Cream Standards: Ensure you are using true heavy cream. You can check the FDA Cream Regulations to understand how fat content affects whipping stability if you want to geek out on the science of a perfect frosting.
Common Mistakes with a Homemade Dairy Queen Ice Cream Cake
- Using Warm Fudge: If your fudge sauce is hot when you pour it, it will completely melt your chocolate base layer, causing the colors to muddy together.
- Rushing the Freeze Times: Skipping the intermediate freezing steps will cause your layers to blend together into a messy swirl rather than clean, beautiful lines.
- Scraping Out the Oreo Cream: Do not remove the cream from the center of your Oreos. The cream acts as a barrier that keeps the homemade ice cream cake with oreos crunchy instead of soggy. For more details on cookie textures in baking, look at the classic Joy of Baking Cookie Guide for excellent structural tips.
Serving Ideas for Your Copycat Dairy Queen Ice Cream Cake Recipe
This classic birthday cake looks gorgeous on its own, but you can dress it up for special occasions.
- Serve it alongside a delicate, elegant Chantilly Cake at summer parties to give your guests both a fruit option and a rich chocolate option.
- Drizzle extra cold chocolate syrup and caramel sauce over each individual slice before serving.
- Swap out the rainbow sprinkles for crushed peanut butter cups or M&Ms to match a specific party theme.
Storage & Make-Ahead Tips for Your No-Bake Ice Cream Cake
- How to Store: Keep any leftover cake in your freezer. Wrap the exposed sliced edges tightly with plastic wrap or aluminum foil to prevent freezer burn. It will keep well for up to 2 weeks.
- Make-Ahead Logistics: You can easily make this entire copycat dairy queen ice cream cake recipe up to a week in advance. Just store it fully frosted inside a covered cake container in the back of your freezer.
FAQs
What are the crunchy pieces in a Dairy Queen ice cream cake made of?
The iconic crunchy layer in a Dairy Queen ice cream cake is made from a combination of finely crushed Oreo cookies (or chocolate cookie pieces) and chocolate hot fudge sauce mixed together. This keeps the layer slightly soft yet satisfyingly crunchy even when completely frozen.
How far in advance can you make a homemade ice cream cake?
You can make a homemade ice cream cake up to a week in advance. Ensure it is wrapped tightly in plastic wrap and stored securely in the freezer. For the best freshness and texture of the whipped cream frosting, it is recommended to assemble and frost it 1 to 2 days before serving.
What kind of frosting is used on Dairy Queen ice cream cakes?
Dairy Queen uses a specific stabilized whipped topping for their cakes. You can easily replicate this at home by making a homemade whipped cream frosting whipped to stiff peaks with heavy cream, sugar, and vanilla extract, which pipes perfectly and holds its shape well in the freezer.
How do you cut a frozen ice cream cake cleanly?
To get perfectly clean slices, remove the ice cream cake from the freezer about 5 to 10 minutes before serving to let it soften slightly. Dip a sharp, heavy chef’s knife into a tall glass of hot water, wipe it dry with a clean towel, and slice through. Repeat the hot water dip between every single cut.
Final Thoughts on This Homemade Dairy Queen Ice Cream Cake
Bringing this homemade dairy queen ice cream cake to a family gathering is guaranteed to bring back old memories and help create wonderful new ones. It is sweet, nostalgic, and absolutely perfect for summer.
Did you try making this at home? Please leave a comment and a 5-star rating below to let me know how it turned out! Don’t forget to pin this recipe to your favorite dessert board on Pinterest so you never lose it.
If you love simple, family-friendly recipes like this one, make sure to sign up for our EndRecipes newsletter to get fresh kitchen inspiration sent straight to your inbox every week!
PrintHomemade Dairy Queen Ice Cream Cake Recipe
- Prep Time: 1 hour
- Freezer Time: 7 hours:
- Total Time: 8 hours
- Yield: 10-12 slices
- Category: Dessert
Ingredients
-
2 quarts chocolate ice cream, slightly softened
-
2 quarts vanilla ice cream, slightly softened
-
24 Oreo cookies, crushed
-
2 cups hot fudge sauce, room temperature
-
2 cups heavy whipping cream, cold
-
4 tbsp granulated sugar
-
2 tsp pure vanilla extract
-
Rainbow sprinkles for decoration
Instructions
-
Line a 9-inch springform pan with plastic wrap, leaving overhang on all sides.
-
Spread the softened chocolate ice cream evenly into the bottom of the pan. Freeze for 30 minutes.
-
Smooth the room-temperature hot fudge sauce over the chocolate layer. Top evenly with the crushed Oreo cookies, pressing down gently. Freeze for 45 minutes.
-
Spread the softened vanilla ice cream over the cookie layer. Cover tightly and freeze for a minimum of 8 hours or overnight.
-
Remove the cake from the springform pan using the plastic wrap overhang to assist. Invert onto a plate, remove wrap, and place back in the freezer.
-
Whip the heavy cream, sugar, and vanilla extract until stiff peaks form. Frost the entire cake quickly, decorate with sprinkles, and freeze for 1 hour before slicing.