
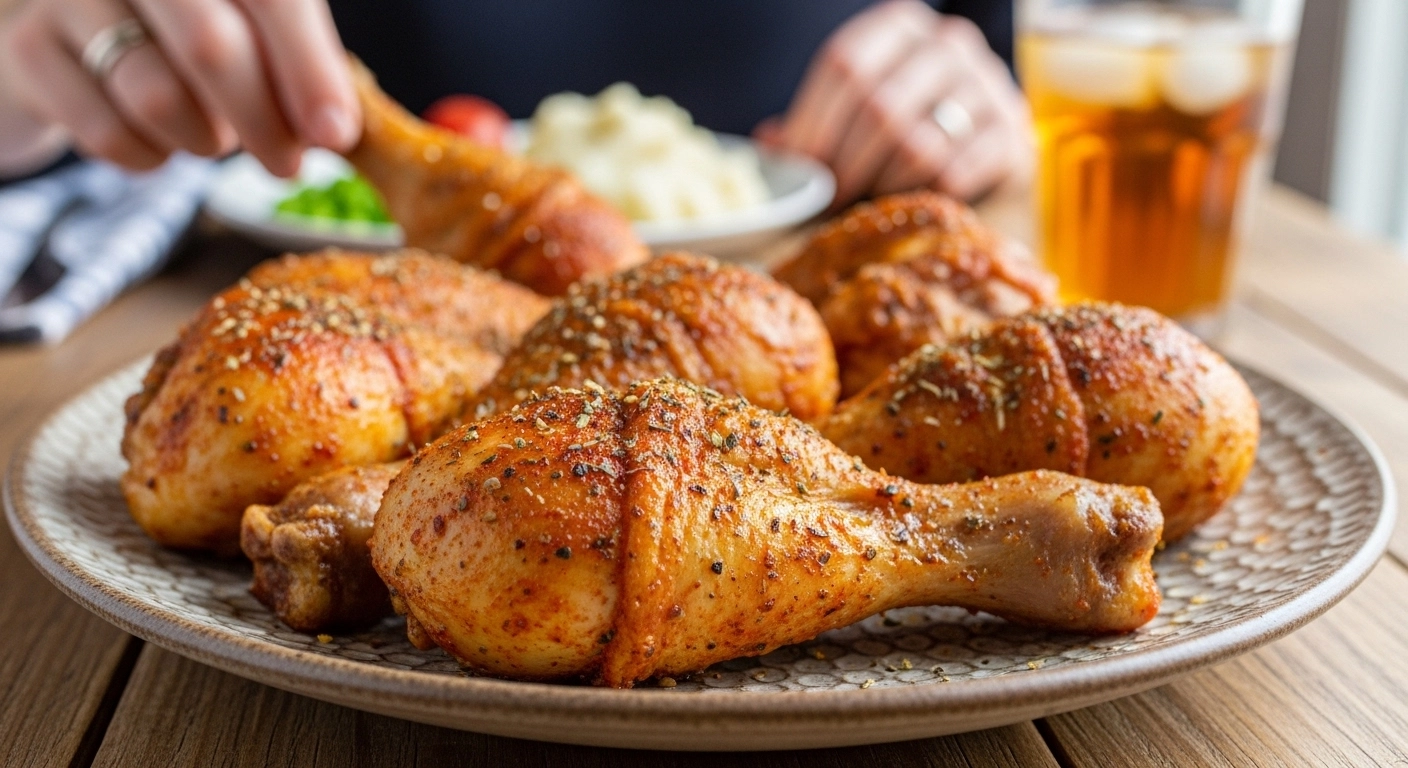
If you need a reliable dinner, this Seasoned Crispy Chicken Drumsticks recipe is exactly what you are looking for. It is incredibly effortless and wildly delicious.
My sister actually made these for us when we were visiting her house last month. It was one of those rare family dinners where everyone was completely silent because we were all too busy eating.
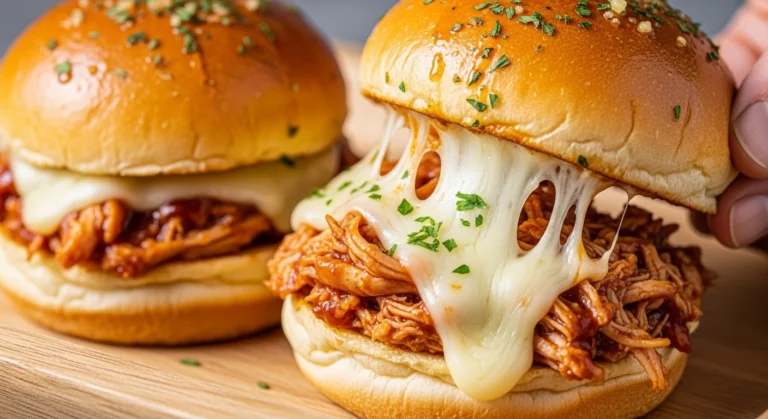
I knew immediately that I had to recreate them for the blog. We make my BBQ Pulled Chicken Sliders a lot, but sometimes you just crave eating chicken right off the bone.
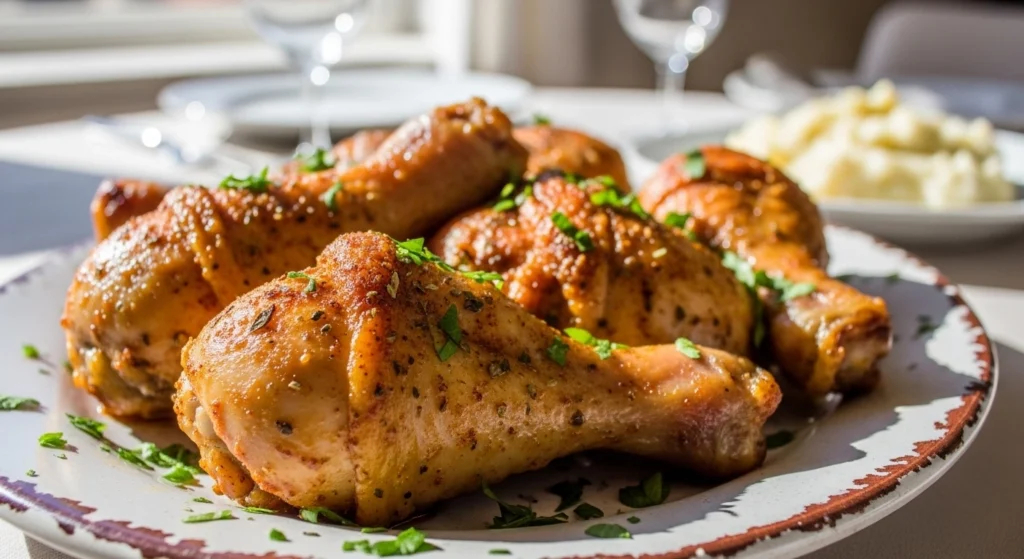
These drumsticks are fall-apart tender on the inside, with a perfectly seasoned, crispy skin on the outside. They are completely foolproof.
Let me show you how to make this batch of Seasoned Crispy Chicken Drumsticks for your family tonight!
Table of Contents
Why You’ll Love This Seasoned Crispy Chicken Drumsticks Recipe
Finding easy weeknight chicken recipes can be a struggle when you are busy. That is exactly why this recipe is going to become your new best friend.
Here are a few reasons why we make these every single week:
- Incredibly fast prep: You literally just pat the chicken dry, toss it in oil and spices, and throw it in the oven.
- Naturally allergy-friendly: Because there is no breading or flour, these are completely gluten-free chicken drumsticks.
- Packed with nutrition: This is a healthy chicken drumstick recipe that makes a fantastic high-protein chicken dinner for growing kids.
- Foolproof crunch: If you want to know how to bake crispy chicken drumsticks without deep frying, this high-heat method works every single time.
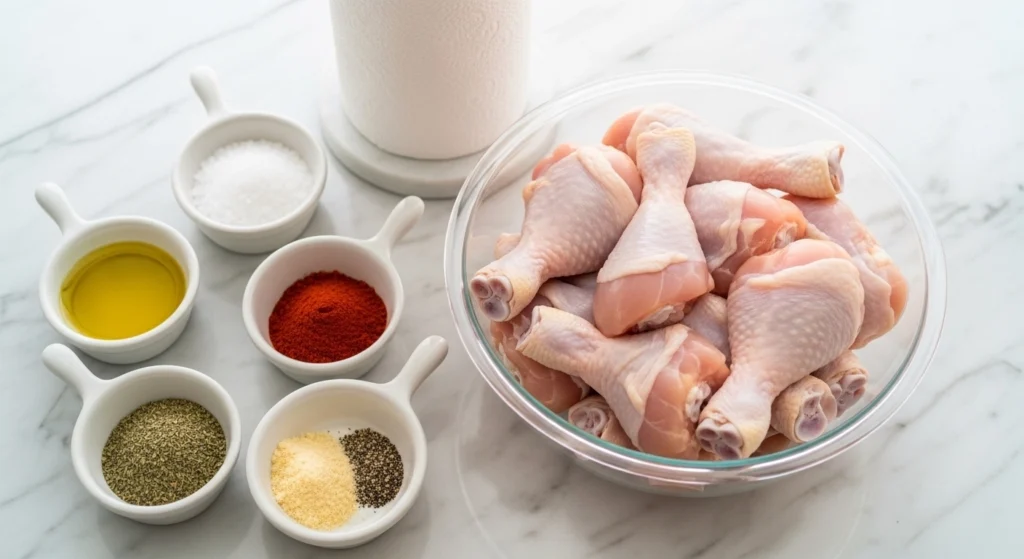
Ingredients You Need
You probably already have everything you need for these Seasoned Crispy Chicken Drumsticks sitting in your pantry right now. Simple ingredients make the best meals.
- Chicken Drumsticks: Look for high-quality, pasture-raised chicken if possible. You will need about three packs, which is roughly 13 to 15 drumsticks.
- Extra Virgin Olive Oil: This helps the spices stick to the chicken and helps the skin crisp up beautifully in the oven. Avocado oil works great here, too.
- Sea Salt: A coarse sea salt or kosher salt is best for drawing out moisture and enhancing the flavor.
- Garlic Powder: Essential for that deep, savory crust.
- Chili Powder: This adds a beautiful color and a very mild, smoky warmth without being spicy for the kids.
- Dried Oregano: An earthy herb that balances the smoky paprika and chili perfectly.
- Paprika: You can use sweet or smoked paprika depending on your personal preference. It gives the chicken that gorgeous golden-red hue.
- Ground Black Pepper: Freshly cracked black pepper always provides the best flavor for roasted meats.
Step-by-Step Instructions
Making these Seasoned Crispy Chicken Drumsticks requires almost zero cooking skills. Let your oven do all the heavy lifting for you!
Step 1: Preheat the oven. Get your oven heating to 420°F (215°C). A high temperature is crucial for making crispy chicken legs in oven.
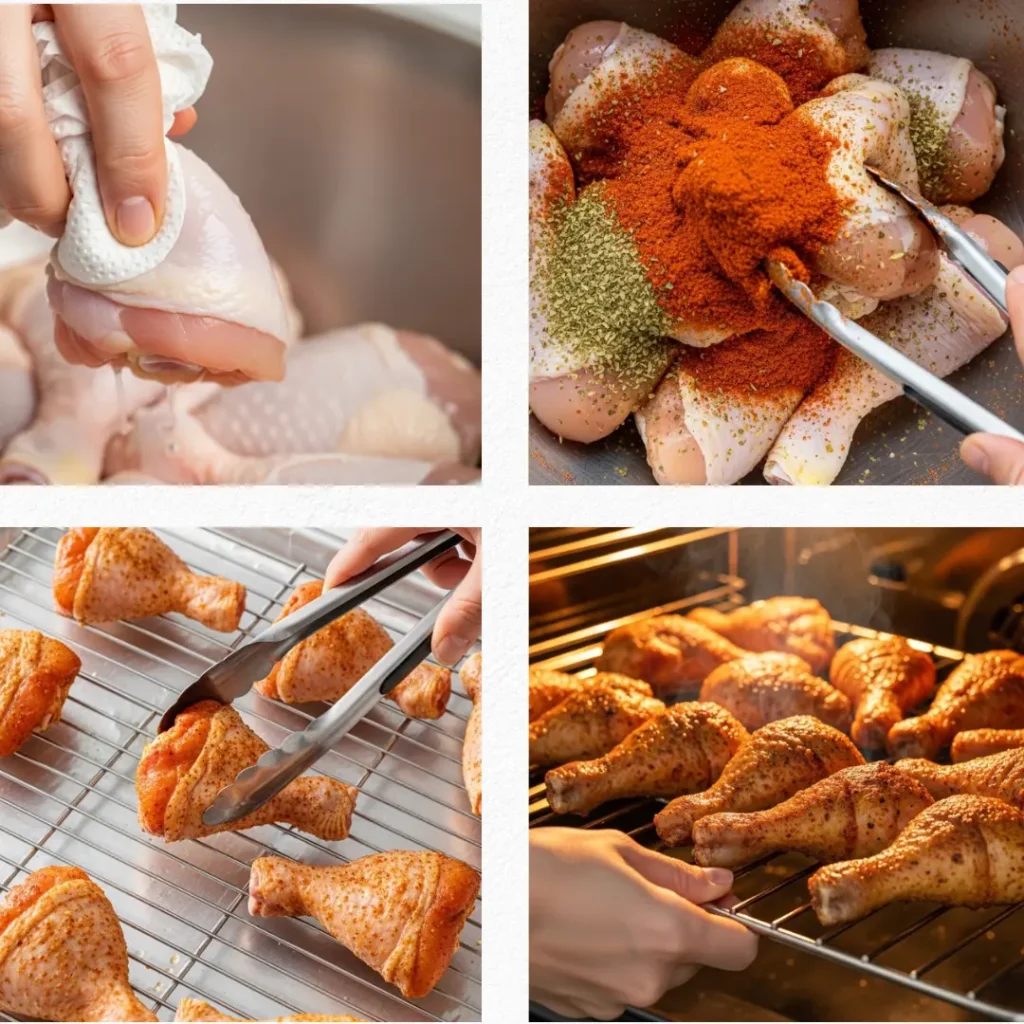
Step 2: Dry the chicken. Use a paper towel to thoroughly pat all of the chicken drumsticks dry. Getting rid of the excess moisture is the secret to crispy skin.
Step 3: Prep the drumsticks. Place the dry drumsticks into a very large mixing bowl. Make sure the chicken skin is pulled taut and covering the meat, not folded over itself.
Step 4: Oil and season. Pour your olive oil over the chicken. Sprinkle the salt, garlic powder, chili powder, oregano, paprika, and black pepper directly over the top.
Step 5: Toss well. Use your hands or kitchen tongs to mix everything together vigorously. You want every single drumstick fully coated in that savory spice rub.
Step 6: Prep your pan. Grab a large baking sheet and place an oven-safe wire baking rack directly on top of it. Spray the rack generously with non-stick cooking oil.
Step 7: Arrange the chicken. Place each seasoned drumstick onto the wire rack. Leave a little bit of space between each piece so the hot air can circulate.
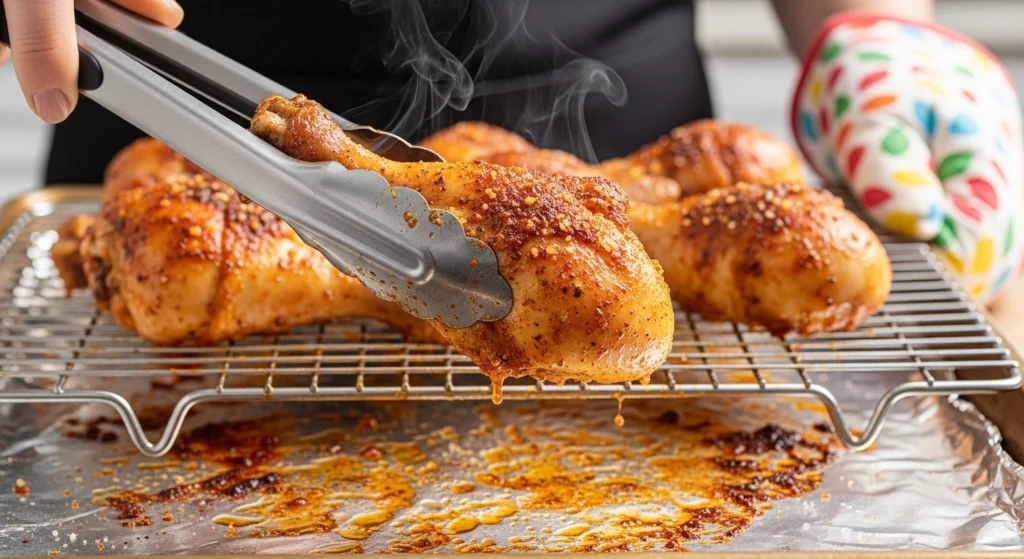
Step 8: Bake and flip. Bake the Seasoned Crispy Chicken Drumsticks for 35 minutes. Remove the pan from the oven, use tongs to flip each drumstick, and return them to the oven.
Step 9: Finish baking. Bake for another 15 minutes. They are completely done when the skin is deeply golden, crispy, and the internal temperature reaches 165°F.
Pro Tips for Perfect Seasoned Crispy Chicken Drumsticks
Want your Seasoned Crispy Chicken Drumsticks to taste like they came from a fancy restaurant? Keep these simple chef tricks in mind.
Always use a wire rack. Elevating your baked chicken drumsticks on a wire rack is non-negotiable. It allows the hot oven air to circulate 360 degrees around the meat.
Let them rest. Do not serve these immediately out of the oven! Let your Seasoned Crispy Chicken Drumsticks rest on the counter for 5 to 10 minutes to let the juices redistribute.
Check the skin. When you toss the chicken in the bowl, take a second to stretch the skin smoothly over the meat. Bunched up skin will stay rubbery, while stretched skin gets incredibly crispy.
Common Mistakes to Avoid
Even an easy recipe for Seasoned Crispy Chicken Drumsticks can go sideways. Avoid these common kitchen blunders for the best results.
Skipping the paper towel. If you do not pat your chicken dry, the skin will simply steam in the oven. Moisture is the ultimate enemy of crispy chicken!
Cooking at a low temperature. Trying to bake these at 350°F will give you pale, rubbery chicken. You need that aggressive 420°F heat to render the fat and crisp the skin.
Overcrowding the pan. If the drumsticks are touching each other on the wire rack, they will create steam. Leave at least an inch of space between each piece.
Serving Ideas
These savory Seasoned Crispy Chicken Drumsticks pair beautifully with traditional comfort food sides.
I almost always serve these alongside a big pile of creamy, buttery mashed potatoes and sweet green peas. The kids love mixing the peas into the potatoes!
If you are hosting a casual weekend gathering, you can serve these on a big platter alongside my Air Fryer Teriyaki Chicken Kabobs for a fun, protein-packed party spread.
Looking for lunch the next day? Pull the leftover meat off the bone and use it inside my Low Carb Cheesy Garlic Chicken Wraps. It is the perfect meal prep hack!
Storage & Make-Ahead Tips
Having leftover Seasoned Crispy Chicken Drumsticks in the fridge makes the week so much easier. They store beautifully.
Refrigerate: Let any leftover drumsticks cool to room temperature. Store them in an airtight glass container in the refrigerator for up to 3 to 4 days.
Reheating: Do not use the microwave! The microwave will make the skin soggy and rubbery. Reheat your drumsticks in the oven at 375°F for about 10 minutes until warmed through.
Air Fryer Hack: If you have an air fryer, pop the cold leftovers in at 380°F for 4 to 5 minutes. They will crisp right back up to their original glory!
Why is my chicken not crispy in the oven?
If your chicken isn’t getting crispy in the oven, it’s likely because the baking temperature was too low or air couldn’t circulate around the meat. To achieve crispy skin, bake the drumsticks at a high temperature (around 420°F) and place them on a wire rack set over a baking sheet so they don’t sit in their own juices while cooking.
How do you keep drumsticks from drying out in the oven?
To keep chicken drumsticks juicy, avoid overcooking them and make sure you bake them at the correct high temperature. Another crucial step is letting the chicken rest for a few minutes after taking it out of the oven. This allows the hot juices to redistribute throughout the meat before you bite in.
What temperature should I bake chicken drumsticks at?
For perfectly tender meat and a crispy exterior, it is best to bake chicken drumsticks at a high temperature, typically between 375°F and 425°F. Baking them at 420°F for about 50 minutes (flipping once) yields wonderfully crispy and golden skin.
Do I need to pat chicken dry before baking?
Yes, you should always pat chicken drumsticks dry with a paper towel before adding oil or seasonings. Removing the excess moisture from the skin is a vital step in ensuring the chicken crisps up nicely in the oven instead of steaming.
Final Thoughts
I am so excited for you to try these Seasoned Crispy Chicken Drumsticks. They truly are a total dinner lifesaver on busy weeknights.
With a perfect spice blend and that satisfying oven crunch, this is guaranteed to become a permanent fixture in your dinner rotation.
If you make these Seasoned Crispy Chicken Drumsticks, please let me know! Leave a comment and rate the recipe down below. Hearing your feedback means the world to me.
Don’t forget to snap a natural, candid photo of your dinner plate and share it on Pinterest so other families can find this easy meal!
And if you want more effortless, healthy family dinners sent straight to your inbox, sign up for the EndRecipes weekly newsletter today!
Seasoned Crispy Chicken Drumsticks

- Prep Time: 10 minutes
- Cook Time: 50 minutes
- Total Time: 1 hour
- Yield: 5-6 servings
Ingredients
-
3 packs pasture-raised chicken drumsticks (about 13-15 drumsticks)
-
3-4 tablespoons extra virgin olive oil
-
2 teaspoons sea salt
-
2 teaspoons garlic powder
-
2 teaspoons chili powder
-
2 teaspoons dried oregano
-
1 teaspoon paprika (sweet or smoked)
-
1 teaspoon ground black pepper
Instructions
-
Preheat: Preheat your oven to 420°F (215°C).
-
Prep Pans: Line a large baking sheet with foil (for easy cleanup) and place an oven-safe wire baking rack right on top. Spray the wire rack generously with non-stick cooking spray.
-
Dry: Pat all of the chicken drumsticks completely dry with paper towels to remove excess moisture. Place them into a large mixing bowl.
-
Season: Ensure the skin is stretched smoothly over the meat. Pour the olive oil over the chicken, then sprinkle the sea salt, garlic powder, chili powder, oregano, paprika, and black pepper on top.
-
Toss: Use your hands or tongs to toss the chicken vigorously until every drumstick is evenly coated in oil and spices.
-
Arrange: Place the seasoned drumsticks on the prepared wire rack, ensuring they are not touching each other.
-
Bake: Bake for 35 minutes. Remove the pan carefully, flip each drumstick with tongs, and return to the oven.
-
Finish: Bake for an additional 15 minutes, or until the skin is deeply golden, crispy, and the internal temperature reaches 165°F.
-
Rest: Let the chicken rest for 5-10 minutes on the pan before serving to keep the meat juicy. Enjoy!
Notes
-
Storage: Keep leftovers in an airtight container in the fridge for up to 4 days.
-
Reheating: Reheat in a 375°F oven or use an air fryer to maintain the crispy skin. Do not microwave!

One Comment
Comments are closed.