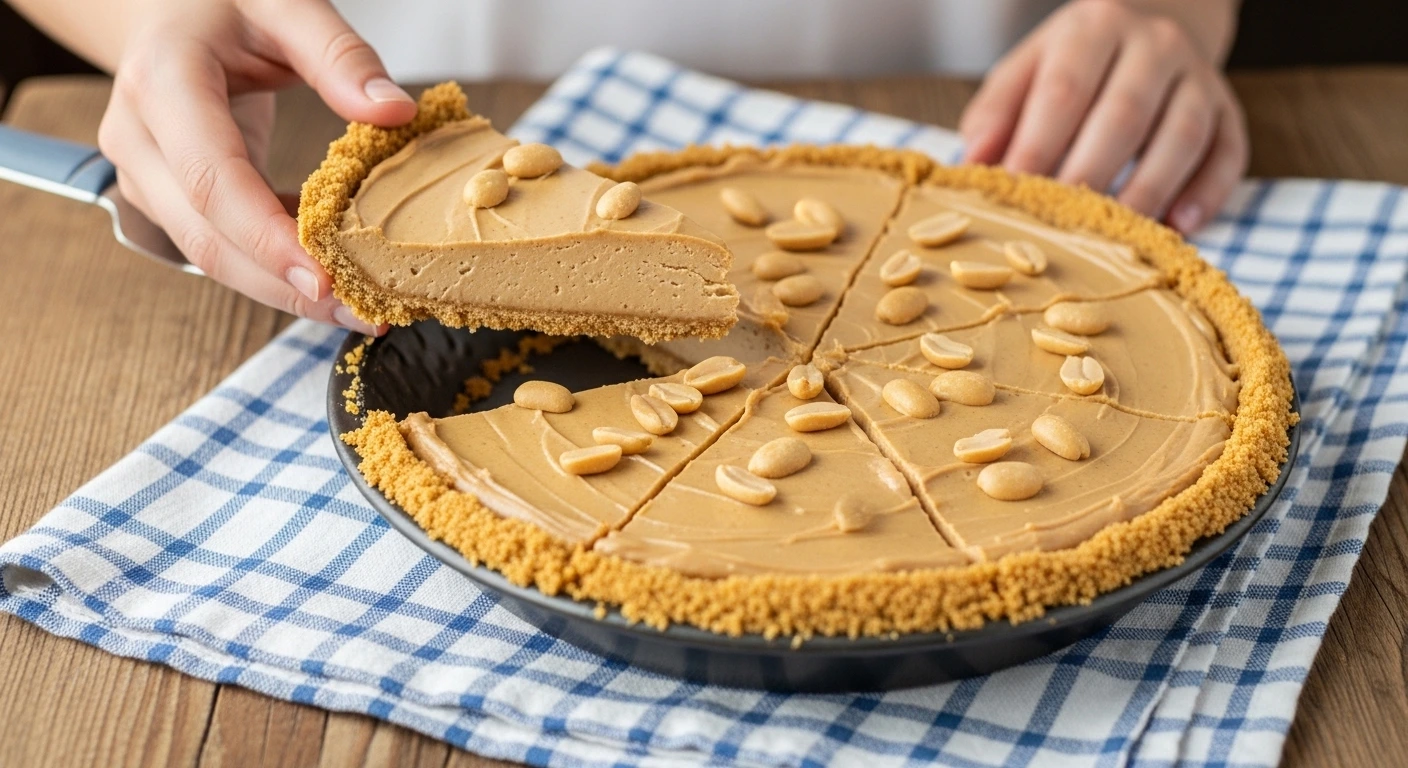
This No-Bake Peanut Butter Pie is the dessert that saves me every single summer.
A few years ago, I had family drop in unannounced on a sweltering July afternoon. I needed a treat fast, but turning on the oven was absolutely out of the question.
I grabbed a few pantry staples and whipped this up in minutes. It vanished so fast, the kids were literally scraping the pie plate clean!
If you love the effortless magic of our classic no-bake eclair cake, you are going to fall head over heels for this rich, peanut buttery dream.
Let me show you exactly how simple it is to put together!
Table of Contents
Why You’ll Love This Recipe
Finding Quick no bake desserts that actually taste like you spent hours in the kitchen is a massive win. This recipe is going to become your new secret weapon.
It is incredibly rich, perfectly fluffy, and requires zero baking skills.
Here is why you will be making this all season long:
- Only 5 ingredients: You probably already have everything sitting in your pantry and fridge right now.
- Completely oven-free: Keep your kitchen cool and save your oven space for dinner.
- Kid-approved: The flavor is exactly like a giant peanut butter cup, which makes it a massive hit with children.
- Make-ahead friendly: It actually tastes better when you make it the day before your party!
Ingredients You Need
This Easy peanut butter pie recipe relies on just a handful of simple, everyday ingredients.
Here is what you need to grab to make this creamy masterpiece:
- Cream Cheese: You need one block of full-fat cream cheese. This is what gives a Cream cheese peanut butter pie its signature tangy, stable structure.
- Peanut Butter: Stick to standard, creamy processed peanut butter like Jif or Skippy for the best, smoothest texture.
- Powdered Sugar: Confectioners’ sugar dissolves perfectly into the filling without leaving any gritty texture behind.
- Whipped Topping: A tub of thawed whipped topping is the secret to a fluffy Cool whip peanut butter pie.
- Graham Cracker Crust: A No bake peanut butter pie with graham cracker crust is classic. You can use store-bought to save time, or if you want to make it from scratch, I highly recommend this simple homemade graham cracker crust
guide from Preppy Kitchen. - Vanilla Extract: Just a splash helps round out the sweet, nutty flavors.
Step-by-Step Instructions
Do not be intimidated by making pies from scratch! This process takes about 10 minutes of active prep time.
Step 1: Beat the base. In a large mixing bowl, beat your softened cream cheese and creamy peanut butter together using a hand mixer. Blend until completely smooth and creamy.
Step 2: Add the sweetness. Add the powdered sugar and vanilla extract to the bowl. Beat the mixture again on low speed until the sugar is fully incorporated.
Step 3: Fold in the fluff. Grab a rubber spatula. Gently fold the thawed whipped topping into the peanut butter mixture. Use slow, sweeping motions so you do not deflate the air!
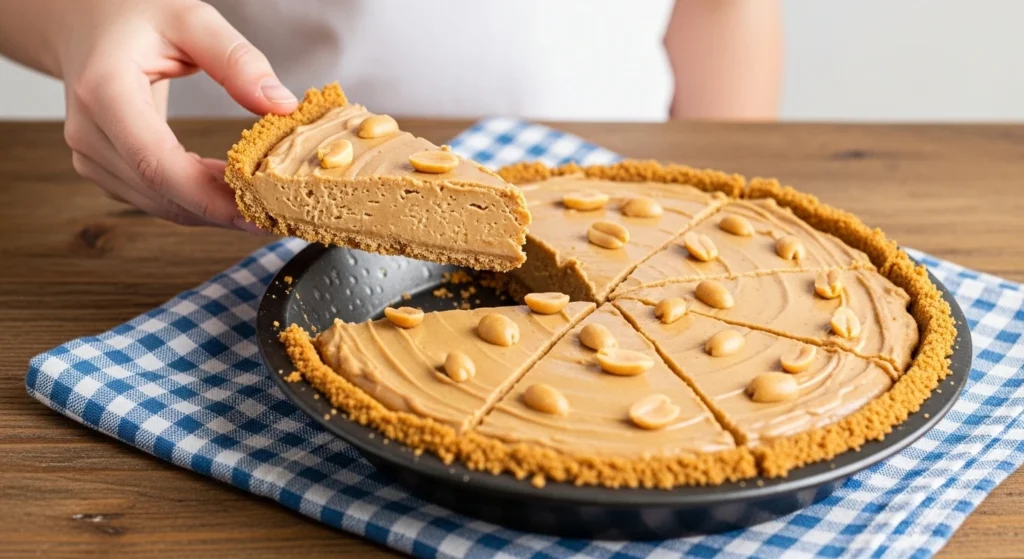
Step 4: Fill the crust. Scoop your fluffy filling into the prepared graham cracker crust. Use your spatula to smooth out the top into an even layer.
Step 5: Chill and set. Place the pie in the refrigerator. Just like our rich no-bake Biscoff cheesecake, it needs at least 2 to 4 hours to chill and firm up before slicing.
Pro Tips for Perfect Results
Want to guarantee your pie turns out flawlessly every single time? Keep these simple kitchen tricks in mind.
Soften your cream cheese. Never try to beat cold cream cheese. Leave it on the counter for about an hour before starting. Cold cream cheese will leave unappetizing white lumps in your filling.
Thaw the whipped topping. Your Cool Whip needs to be fully thawed in the fridge, not the microwave! If it is frozen, it won’t fold properly, and if you microwave it, it will turn into soup.
Sift the powdered sugar. If your powdered sugar has been sitting in the pantry for a while, run it through a quick sifter to remove any hard lumps before adding it to the bowl.
Common Mistakes to Avoid
Even an easy, no-bake recipe can have a few pitfalls. Avoid these common mistakes for the absolute best dessert experience.
Using natural peanut butter. Natural peanut butter that requires stirring is delicious, but it will ruin this pie. The oils separate and will make your filling greasy and prevent it from setting.
Over-mixing the whipped topping. When you add the Cool Whip, put the electric mixer away. You must fold it in gently by hand, or you will knock all the air out of the pie.
Slicing too soon. It is so tempting to cut into it immediately, but patience is key! If you do not let it chill for the full time, your slices will collapse into a pudding-like mess on the plate.
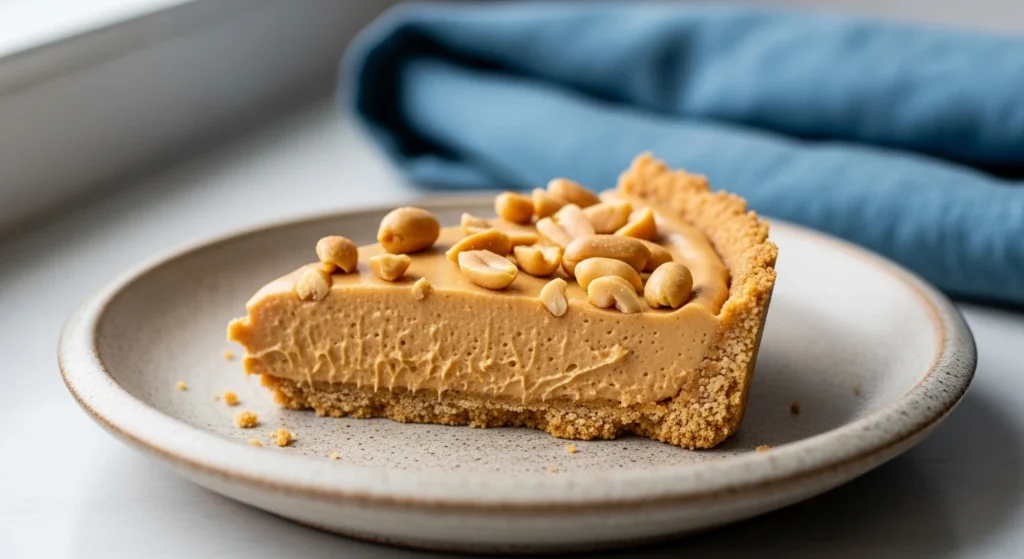
Serving Ideas
This pie is incredibly decadent on its own, but dressing it up makes it look like it came from a fancy bakery!
I love to drizzle a little melted chocolate ganache or warm fudge over the top right before serving.
You can also sprinkle the pie with crushed peanut butter cups, mini chocolate chips, or a handful of chopped roasted peanuts for some extra crunch.
If you are hosting a full weekend gathering, serve our famous French toast casserole for your morning brunch, and pull this pie out for an effortless afternoon dessert!
Storage & Make-Ahead Tips
This recipe is essentially a classic Old fashioned peanut butter pie, meaning it stores incredibly well.
In the fridge: Keep the pie loosely covered with plastic wrap or the inverted plastic lid from your store-bought crust. It will stay fresh in the refrigerator for up to 4 days.
In the freezer: This pie freezes beautifully! You can freeze the entire pie for up to 3 months. Wrap it tightly in plastic wrap, then a layer of aluminum foil.
You can actually serve it straight out of the freezer for a delicious, ice cream-cake texture!
Can I use natural peanut butter for this pie?
It is highly recommended to use standard, processed creamy peanut butter (like Jif or Skippy) for this recipe. Natural peanut butter tends to separate and release oils, which can cause the pie filling to become greasy, grainy, and prevent it from setting up properly in the fridge.
Do I have to use a graham cracker crust?
Not at all! While a store-bought or homemade graham cracker crust is the classic choice, an Oreo cookie crust or a chocolate graham cracker crust pairs incredibly well with the peanut butter filling. It gives the pie a delicious peanut butter cup flavor!
How long does a no-bake peanut butter pie need to chill?
For the best texture and clean, beautiful slices, you should let the pie chill in the refrigerator for at least 2 to 4 hours before serving. If you are in a rush, you can pop it in the freezer for about an hour to speed up the setting process.
Can I freeze a no-bake peanut butter pie?
Yes, this pie freezes beautifully! In fact, many people prefer to serve it straight from the freezer for a frozen, ice cream-like dessert. Just wrap the pie tightly in plastic wrap and then a layer of aluminum foil, and it will keep in the freezer for up to 3 months.
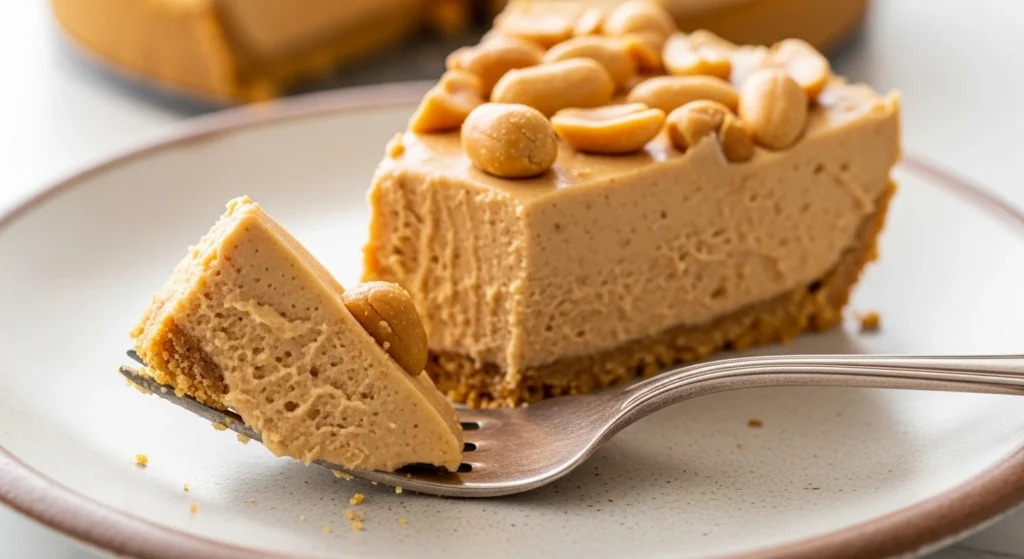
Final Thoughts
I am so incredibly excited for you to try this No-Bake Peanut Butter Pie with your family this week.
It truly proves that you do not need to spend hours sweating over a hot oven to create a dessert that makes everyone ask for a second slice!
If you make this recipe, I would absolutely love to hear how it turned out! Please leave a comment and rate the recipe down below.
Do not forget to snap a quick photo and share it on your favorite Pinterest boards so you always have this quick treat saved for later!
For more easy, healthy, and family-friendly recipes sent directly to your inbox, be sure to sign up for the free EndRecipes newsletter today!
Print5-Ingredient No-Bake Peanut Butter Pie
- Prep Time: 10 minutes
- Cook Time: 4 hours
- Total Time: 4 hours 10 minutes
- Yield: 8 slices
Ingredients
-
1 (8 oz) block cream cheese, softened to room temperature
-
1 cup creamy peanut butter (standard, not natural)
-
1 cup powdered sugar
-
1 teaspoon pure vanilla extract
-
1 (8 oz) tub whipped topping (like Cool Whip), thawed
-
1 (9-inch) graham cracker crust (store-bought or homemade)
-
Optional garnishes: Chocolate syrup, crushed peanut butter cups, chopped peanuts
Instructions
-
In a large mixing bowl, use an electric hand mixer to beat the softened cream cheese and creamy peanut butter together until completely smooth and lump-free.
-
Add the powdered sugar and vanilla extract to the bowl. Beat on low speed until fully incorporated and creamy.
-
Using a rubber spatula, gently fold the thawed whipped topping into the peanut butter mixture until no white streaks remain. Do not over-mix.
-
Spoon the fluffy filling into the graham cracker crust, spreading it out into an even layer.
-
Cover the pie loosely and place it in the refrigerator to chill for at least 4 hours (or overnight) to set.
-
Garnish with chocolate syrup or crushed peanut butter cups right before slicing and serving. Serve cold!